November 27, 2011
Minor Fiberglass Repairs
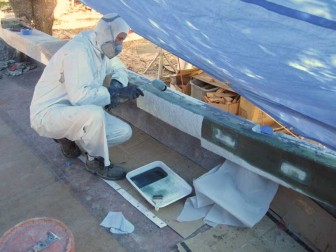
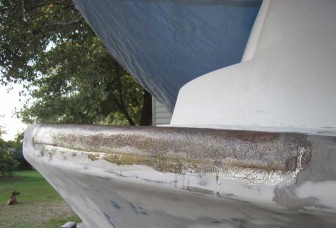
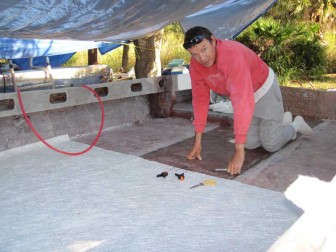
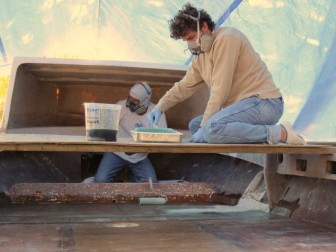
All the grinding in recent days finally came to fruition today as we went around and applied fiberglass to several minor repairs. To reinforce and smooth the gunwale edge where swimmers will exit Fluke, a fresh layer of mat was applied to the inside face, wrapping over onto the side deck. The extra fiberglass over the holes will be cut out later.
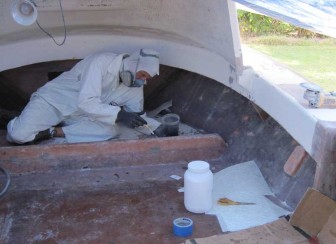
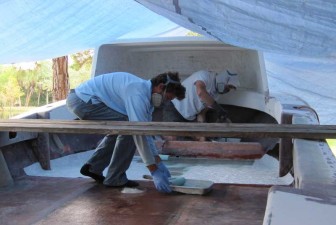
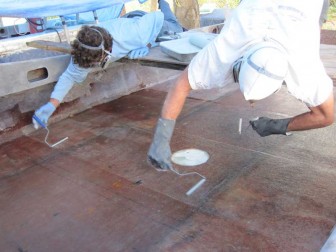
Gene moved on to apply a bit of tabbing to the forward bulkheads then used the last of that batch of resin to paint the plywood core edges of the holes on the opposite side of Fluke, where we had previously replaced the wood. (See Part 12.)

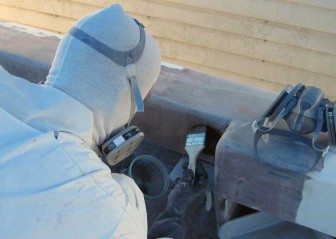
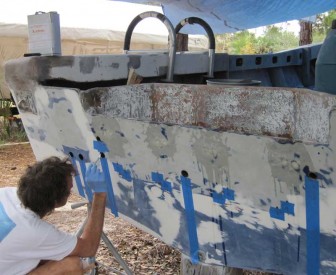
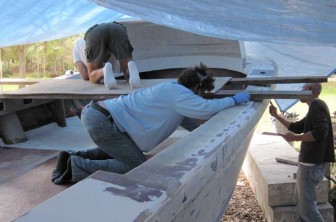
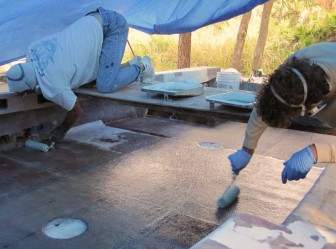
After cleaning up on Fluke, we moved over to Pec to more or less repeat the same process. At right, Gene is putting reinforcing tabbing on the forward bulkhead. Both gunwale faces got a skin of mat like the one on the port side of Fluke.
There were also a few minor patch repairs on both boats. At left, the motor well did not quite join the transom properly on Fluke so it got some chopped fiberglass putty and a layer of mat to fill and fair the joint.

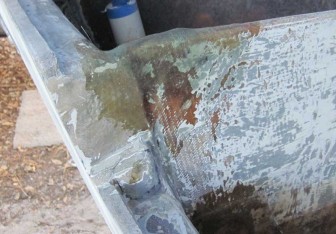
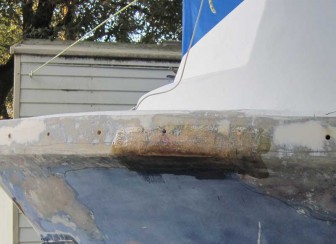
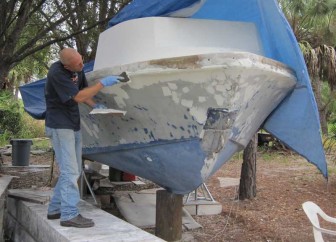
The bows of both boats still had a few battle scars and scratches from years of commercial operation. We had already replaced some core in this side deck on Pec, discussed in Part 8 of this series, and covered the repair with fiberglass, discussed through section 11. There was still a section up forward that had to be ground down and fiberglassed over again, shown at right.
Fluke had a minor gash in the same area but underneath the rub rail repaired, along with a few others not pictured.

November 28, 2011
Patching Transom Holes, Fairing, Sanding, and Grinding, Cutting Mat for Decks
Many projects were under way simultaneously this day, starting with patching the upper engine mounting holes in the transoms. We mixed up some epoxy and painted the insides of each hole, then added structural filler to make a thick putty. We pressed the putty into the holes from the outside until it came through on the inside, then smoothed over inside and out with plastic scrapers.
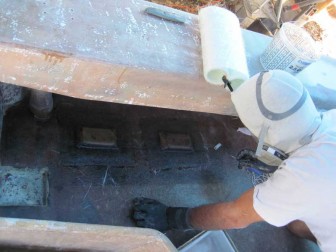
In the picture at right, Gene is painting the core inside the scupper drain tubes. The engine mounting holes filled with epoxy patches can be seen above his brush.
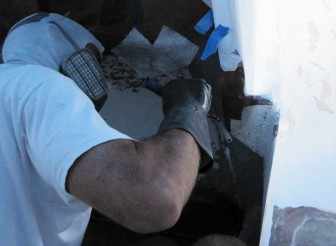
After the transom work, Gene moved on to cutting away excess fiberglass from the face boards we glassed the day before and grinding the edges smooth enough for the sanders to take over.
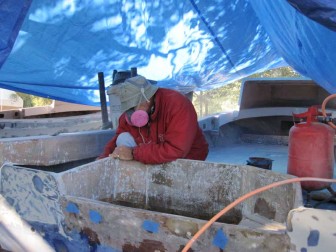
He was pretty fed up with being the subject of grinding photos by this point, so I snuck in a picture while no one was aboard the boat.

Homer and Colton showed up to work and were put on hull fairing and sanding detail. Homer went around with the white fairing compound again.
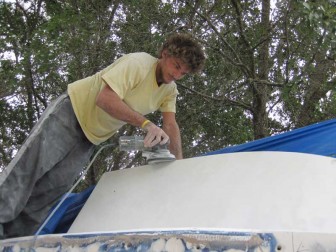
Colton was sanding areas that needed no further repair or fairing before painting. In the picture at left, he's working on the hard dodger on Pec.

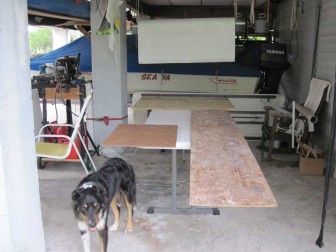
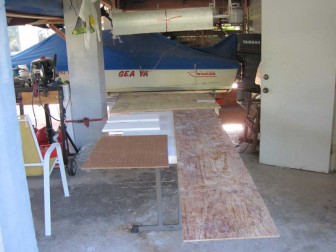
While they were at work on the boats, I was cutting fiberglass to re-skin the decks on both boats. We planned to put two layers of mat on each boat. At right is the cutting table with makeshift extensions and Luke the Supervisory Cowdog.
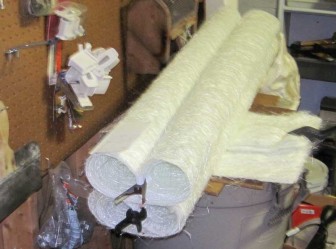
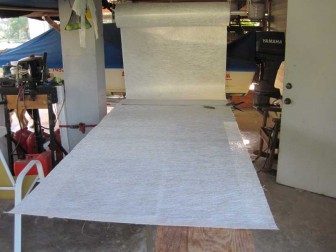
Under his helpful guidance, I was able to produce some of the needed pieces of fiberglass mat and start a stack in the shop.
Underneath the rolls are some other square pieces of mat that I cut an labeled for some repair or other, but I can't recall what they are.

November 29, 2011
Sandblasting Boats Finished, Cutting Fiberglass Mat for Decks
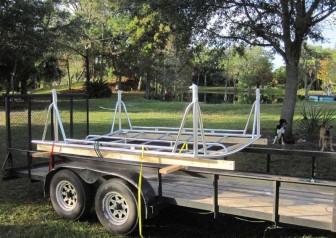
One of the new hard top frames arrived from the welder's shop early in the morning. The legs were made in two sections so that the tops could be lowered for shipping and storage. The bottom parts of each leg were created in place aboard the boats to ensure that each leg rested properly on the appropriate bracket.
Dennis was also at work bright and early, finishing up the sandblasting on Pec.

I spent most of the day cutting pieces of fiberglass mat for the decks. Each piece was made to be rolled out from the center of the boats toward the edges and was cut to form a continuous edge with adjacent pieces, with relief cuts to allow the edges to ride up the gusset bases, motor wells, driver's decks and other obstacles. Many were almost, but not quite, square, and each needed to be marked at the center and labeled so we could see which end was supposed to be forward when we went to roll them out.
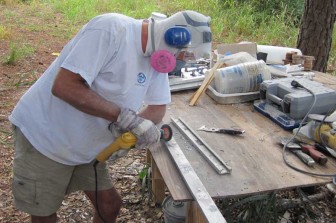
Gene was working on trimming the brass scupper tubes to the proper length and angle so they could be pressed into the transom, then went to work on the aluminum seat cushion rails. The rails and cushions were salvaged from the old benches and he had the cushions re-covered. The old rails had various layers and colors of old paint on them and though serviceable, they would look terrible on the brand new benches he had ordered. In the picture at right, he was polishing the surface back to bare aluminum with a wire wheel.
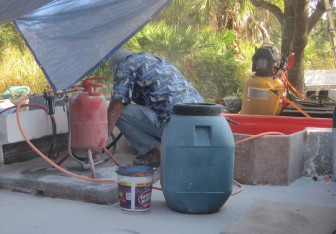
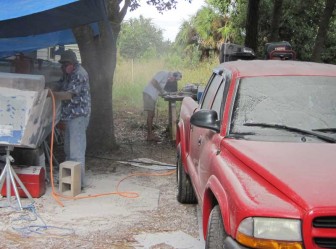
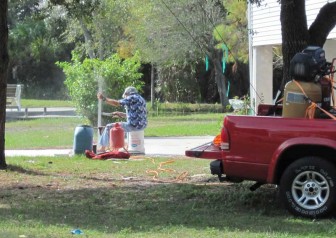
Dennis raised quite a cloud with his sandblaster, covering his truck with sand and obscuring Gene. When he was done and took a look at what Gene was doing, he pointed out that cleaning off those aluminum pieces could be accomplished better and faster by sandblasting.

November 30
Gene's Birthday, Pec Gets a New Deck
Gene started out his birthday by cleaning up the deck of Pec so that I could dry fit the various pieces of mat I had cut to make a new two layer skin. We got an early start to take advantage of the limited daylight at this time of year. With a long day of lamination ahead, we wanted to ensure that the first batch of resin was mixed as soon as it was warm enough for it to cure and the last batch of the day cured before the temperature dropped in the evening.
Colton was helping Gene lay down the fiberglass on the deck while I mixed resin and kept the tools fresh and flowing. The boards across the boat were needed because it was impossible to reach the middle of the boat any other way when the decks were wet.

Gene found that the two boards were a bit precarious for working over the wet deck and augmented the scaffold with a piece of plywood. Homer showed up to continue the hull fairing.
The roll of fiberglass mat was 50 inches wide, so the default size for our rolled-out sections was 50 inches front to back. To get two layers without overlapping seams, one layer started with a 25 inch piece. In the photo, Gene was starting to wet in that second layer while Colton continued ahead on the first layer.
The wetting in part goes faster than the finishing up part, so when it came time for the layers to be bubble rolled, Colton got up on the scaffold with Gene to help out.

Toward the stern, Colton could reach almost everything from the motor well using a roller on a pole. Gene finished up the areas that could only be worked from the scaffold.
Homer showed up to do some more fairing and sanding on the hulls. He was fairing the topsides on Fluke. In this picture, he's wiping a small area down with solvent prior to applying fairing compound.

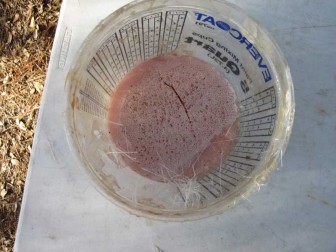
After the deck on Pec was fiberglassed, we had a relatively small amount of catalyzed resin left over. We tried to have a project on standby, prepped and ready for fiberglass, so any leftovers did not go to waste, but inevitably there is some waste along the way. This amount of resin would be enough to finish a small job, if we had one ready. We did not, so it was left to kick off and harden on a table.
We returned to find what you see in the picture at right. Cured resin always stayed the same tea-brown color when it hardened off, but this batch turned pink and was filled with little bubbles. We were all mystified by this, and I still am. Anyone who knows what happened here, please comment below and tell me.
While Homer was fairing the hull on Fluke, Gene and Colton were cleaning up the couple of dozen cover plates that go over the access holes in the gunwales. Like the other parts of the boat, each cover plate had several layers of different kinds of paints on it, so they all needed some sanding and grinding.

Putting a new fiberglass skin on the deck of Pec took a big bite out of our fiberglass supply and a note from this day says we killed the second roll of fiberglass mat. The same note also said that putting two layers of mat on the deck of Pec consumed 5 gallons of polyester resin.
The rest of my afternoon was spent cutting the rest of the pieces of fiberglass mat for the deck of Fluke. Fiberglassing that deck was the main agenda item for the following day.

December 1, 2011
Crew of Four Helps Gene on Boats, Making Seat Base Cleats
Dennis showed up early to finish off the bit of sandblasting needed on Fluke. The scuppers were set in little depressions in the decks on these boats, which is nice for containing any puddle in a small area but tedious to sand for refinishing. The sandblaster saved hours of work in those areas.
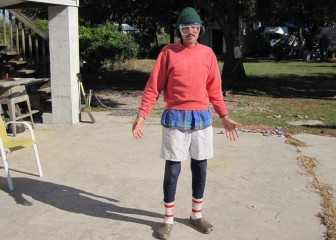
By way of explanation of the picture at left, I can only say that it was cold and dark when I was grabbing clothes and dressing that morning. And safety glasses are needed when operating a table saw. And Crocs with socks are very comfortable. Ah heck, might as well face up to it: I'm old and married and no one cares what I look like any more, unless I look so ridiculous that a picture must be taken.

In the previous part, we discovered that the old benches were not going to be reusable and two new back-to-back aluminum bench frames were ordered from the welder. The plan was to fiberglass small plywood cleats to the decks of the boats and install threaded inserts into those cleats so that the benches could be bolted to the deck. To accommodate film crews and others with a greater need for open deck space than seating, the seats could be unbolted and removed easily, leaving the decks open and unobstructed, except by the little cleats we fiberglassed onto the decks.
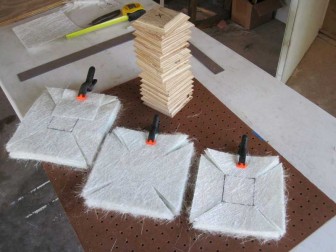
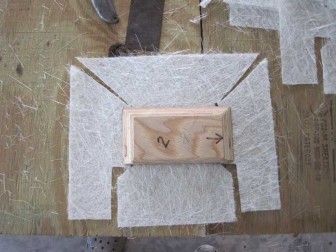
My job was to cut out 16 pieces of 3/4" marine plywood to be used as the bench seat bases. The angled edges make these pieces easy to fiberglass and unlikely to stub toes, but making them all exactly the same size was surprisingly difficult, even with a table saw. After cutting out those pieces, I made three layers of mat for each one with relief cuts to allow them to flow down the sides and out onto the deck. Each cleat also got a square piece of mat to be used on the bottom side between wood and deck skin.
Gene wanted some extra hands to prepare the boats for paint and gelcoat so Colton and Homer put him in touch with a couple of other guys. We were running behind schedule to say the least and paint preparation is notoriously time consuming work. At left, Gene is supervising Jesse. Outside the boat, Austin was shining up the bow and stern towing eyes and their stainless plates.

When he could get everyone else busy at work, Gene broke off to do some research on engine controls, cables, wiring harnesses and gauges. Sometimes all the internet research in the world will not answer the question But which one do I have? as well as just going out and looking at an engine.
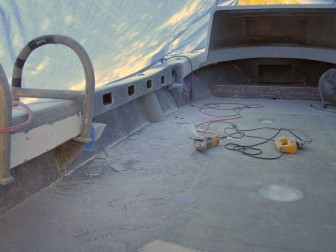
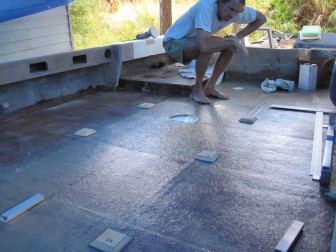
The last picture of the day shows that the deck of Fluke was ready for us to apply a couple of layers of mat the following morning.

December 2, 2011
Fiberglassing Deck on Fluke, Odd Jobs
The next day, Dennis moved his sandblaster over to a concrete pad where it would be relatively easy to recover used sand and blasted off the aluminum rails that hold the seat cushions on the benches. The welder planned to have these seat rails powder coated along with the new bench frames, so all old finish had to be removed.
Gene and Colton moved a bit faster on this second deck application, having refined the techniques for working from the scaffold doing the deck lamination on Pec.

After weeks of preparation, the actual lamination of the deck skins went very quickly on Fluke. We had learned from the experience on Pec just how much polyester resin one piece of fiberglass mat rolled across the boats would soak up, and learned that the whole two-layer lamination would consume 5 gallons of resin. This allowed me to keep the resin flowing freely as Gene and Colton wetted out the layers of mat.
Spare helpers Jesse and Austin were also around this day doing some sanding and cleaning old sealant off salvaged rub rail bolts using the bench-mounted wire wheel in my shop. One of them came out and shot this picture, giving me a rare opportunity to join in the tradition of saluting the camera when photographed on this site.
My fashion sense had improved a bit since the day before. At least I did not look like Santa's Deranged Little Helper any more.

December 3, 2011
Sanding Topsides, Laminating Bench and Ladder Box Cleats on Pec
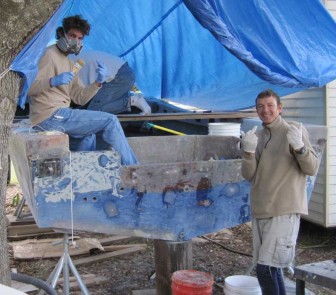
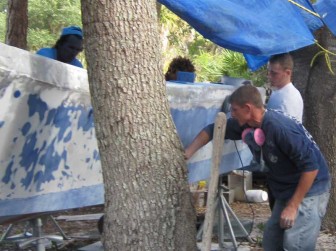
We had a crew on hand once again to help sand the topsides on the boats. I'm not even sure who all is in this picture, but at least one of them has a respirator around his neck, if not on his face.
On board Fluke, Gene was puzzling over the locations for the bench seat mounting cleats. The welder had given us a sample piece identical to one of the bench seat ends and precise measurements showing the locations of mounting holes in the seat frames. We had to lay out the cleat boards and laminate them to the deck so they would all line up with the mounting holes.
If one or more of these were laminated to the deck in the wrong spot, it would create a problem we had no time to solve. Instead of "measure twice, cut once" it was "measure several times, think about it very carefully, measure some more, then laminate."

We planned to laminate the wood cleats for the ladder box brackets at the same time as the ones for the seats, so I went over to cut the pieces of fiberglass mat for those. These cleats had a flat side for the ladder boxes to rest against, meaning they needed more complex relief cuts in the fiberglass mat to allow it to lay smoothly over the surfaces.
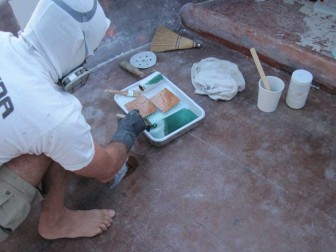
Gene wetting down the bottom sides of each cleat and painting the deck with resin. Also visible in this picture is a pot of chopped fiberglass putty. We were using the putty and some mat to help ensure a good bond between the cleat and deck and to fill any air bubbles that might form in the layers of mat.

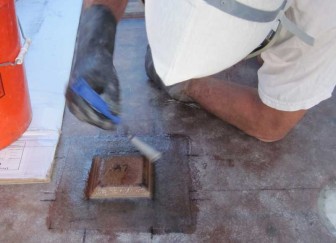
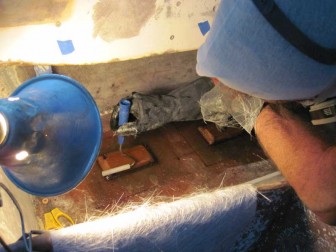
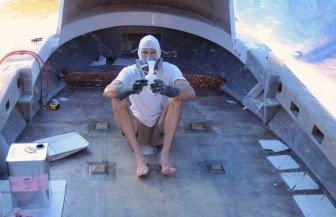
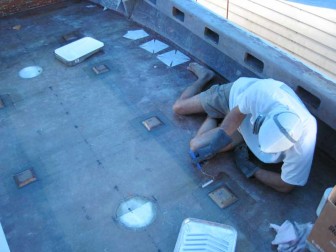
We were careful in measuring and placing the bench seat cleats, but marked where they should go with a Sharpie. Some of those marks were removed by the acetone wipe and the rest became increasingly obscured as each of the three layers of mat was applied. As long as the initial placement was accurate, this was not a real problem when applying the mat, but bubble rolling takes some pressure. We found that with nothing to stop them and resin-soaked fiberglass to lubricate them, the deck cleats would slide around fairly easily. When this happened, we just nudged them back in place and hoped we were right about exactly where "back in place" had been.
After the deck cleats were all laminated in places that we hoped were right, we moved on to the ladder box cleats. The ladder boxes bolt onto the gunwale face and to brackets bolted into threaded inserts in these cleats. If there is ever a problem with the threaded inserts or they cause rot in any of the cleats, removing them from the decks and replacing them could be done fairly easily without penetrating the skin of the decks themselves.

December 4, 2011
Deck Cleats on Fluke
Gene was measuring catalyst for the second batch of resin as we laminated the plywood cleats onto the deck of Fluke. My eyes are no longer good enough to see the little lines on the measuring cup, so I would hand it to him to measure out catalyst. If pressed, I could probably see the lines well enough to get by, but this method also provided an extra check on the mix ratio as we would agree on the amount of resin we were mixing up and the amount of catalyst required.
At left, Gene was finishing up the bench cleat lamination on Fluke with a bubble roller.

The ladder box cleat laminations on Fluke being bubble rolled. The fancy relief cuts worked pretty well at allowing the mat to lay flat on all faces with smooth seams and no bubbles.
After the ladder box and bench mounting cleats were installed, we moved on to a minor repair where the hard dodger meets the deck, then called it a day.
The next day, Dennis was coming to start spraying gelcoat. Finally, an actual finish coat being applied!
Leave a Reply
You must be logged in to post a comment.