November 16, 2011
Fiberglassing Decks on Both Boats
We got an early start and were out on the boats doing final preparations for fiberglassing the decks over the new fuel tanks before our young helpers were really alert. After doing a final dry fit of the layers of mat we intended to lay on the deck, Gene sanded some of the rougher edges smooth while I went around and stuffed small bits of fiberglass mat into places where the deck panel seams were a bit wide.
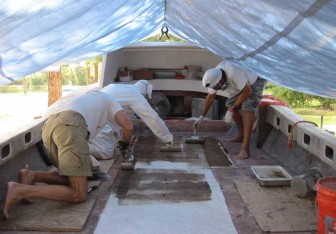
After a final pass with the shop vac and an acetone wipe down, we were ready to replace the fiberglass on the deck of Pec at last. Adam and Lane were up and about, helping us to gather slop boards, mixing buckets, rollers and such. We planned to laminate as a team, with Lane constantly mixing resin and handing it up to the boat where Gene, Adam and I would be laying down the mat. We had a lot of square feet to cover!

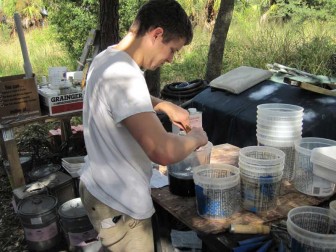
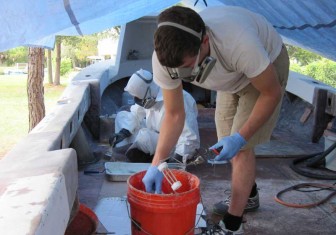
This is an early batch to be used for wetting in perimeter strips, so Lane is not mixing up a full pot of resin this time around. Once we started on the bigger pieces of mat, the batches got bigger. I think we went through that whole stack of mixing cups in the course of the day.
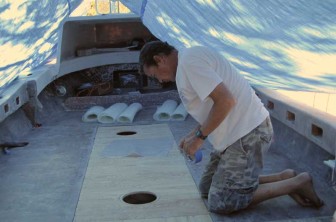
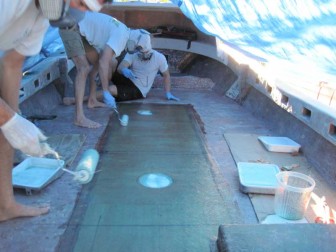
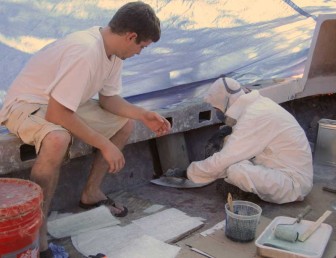
Before the big pieces to cover the deck could go on, we had a bit of detail work to do. Gene was applying the piece that was cut to wrap around and under the edge of one inspection hatch while I put a little extra fiberglass in places where the old deck skin was thicker to help blend in the new with the old. Adam was refilling resin trays and helping wet out pieces that we put down.

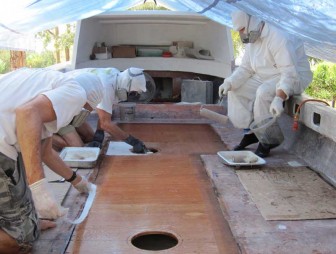
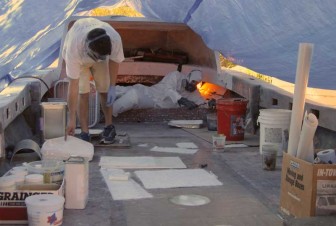
This was a big step for Pec! The three of us were wetting in the top layer of fiberglass mat over the new fuel tank deck panels. Once these pieces were soaked and hit with bubble rollers, the deck would be watertight once again. I was starting to have thoughts of hosing all the dust out of the boat, but we still had a ways to go before that could be done. Still, it was nice to have the deck intact and protected once again.
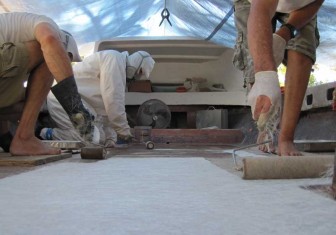
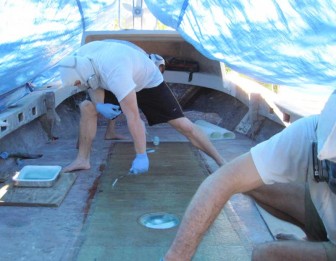
A deck-level view of the process, showing a rather beat-up glove on my hand in the foreground, Gene and Adam rolling away in the background.

Once the last layer of the lamination was in place, the three of us made a team bubble rolling effort to smooth and blend the layers and get out any bubbles and then left it to cure.
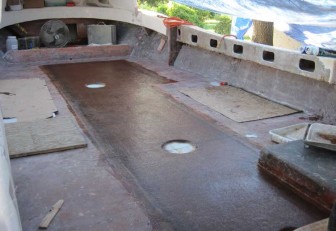
The finished product. When Gene started cutting up the decks, I never imagined it would be the middle of November before we replaced them, but there we were!
It's amusing to recall that early in the project, I had visions of a mid-November test ride before taking December off and then shipping the boats to the Dominican Republic in early January. It did not quite work out that way. "In your case, Mr. Flipse, it's going to take a little longer and cost a little more..."

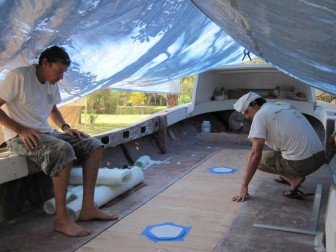
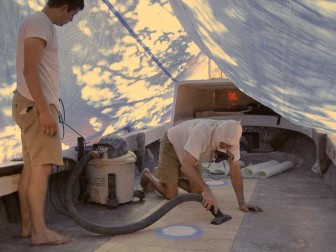
After lunch, we moved our operation over to fiberglass the deck on Fluke. Gene made a final pass with the shop vac with Lane in the unsung but heroic role of shop-vac and cord tender. In the background are the rolls of fiberglass mat, ready for a final dry fit before we start mixing resin.
They went off to reclaim mixing pots and clean and prepare our rollers and trays while I climbed aboard the boat to drape some pieces of plastic over the fuel tanks and tape them in place. Getting the fiberglass to wrap around the inner edges of the inspection plate holes is a messy process and bound to cause some drips.

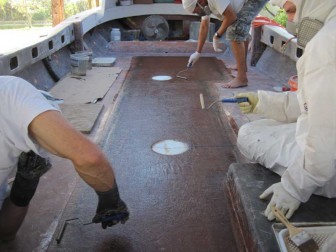
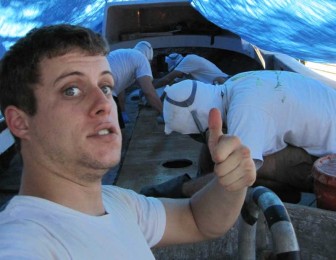
I asked Lane to take over photography duties since his hands would remain cleaner in his mixing role. I guess he got tired of not being in any of the pictures he took! In the background Gene, Adam and I are wetting in the first layer of fiberglass.
Adam busts a move while bubble rolling the second layer of mat.

A shot of the three of us rolling the resin into the top layer of fiberglass on the deck of Fluke. We were still a long way from having finished decks on the boats, but a day with great visible progress was a morale booster for all of us.
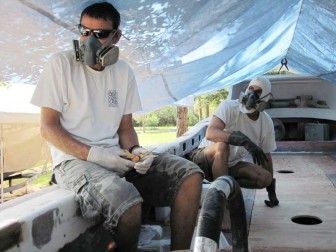
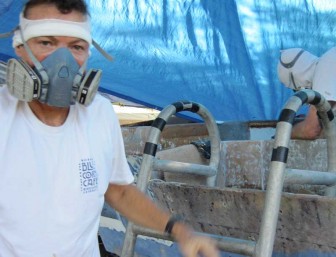
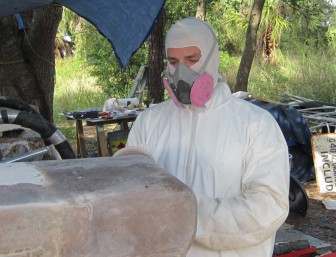
Gene was finishing the last of the bubble rolling as I got out of my gloves and stepped off the boat. A day of rolling polyester resin can certainly put a dazed look in the eyes! We wore respirators with organic vapor cartridges all day, but the fumes were thick with that much exposed fiberglass curing at once.

November 17, 2012
Minor Fiberglass Projects, Installing Cleats and Hard Top Brackets, Console and Ladder Box Work
The day began with a dog comedy show. Gene and I were talking as our dogs Libby and Luke the Cowdog were chasing each other around the yard. As they ran in an arc that approached the pond, Luke wound up running at full speed between Libby and the pond. Libby weighs in at around 80 pounds, while Luke is under 60. Libby hip-checked Luke, who went flying several feet sideways before landing ungracefully in the pond.
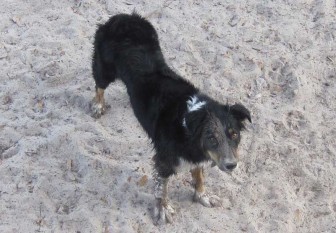
I was facing away from the action and it took Gene most of a minute to stop laughing long enough to tell me what was so funny. Luke knew we were laughing at him, and was not amused. He decided to dry off by rolling on the ground, but chose a sandy spot and covered half of his face with sand. I thought this was hilarious and took a picture. Again he was not amused.
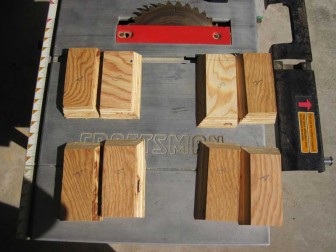
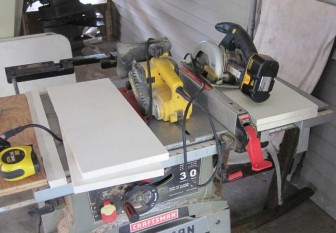
My project for the morning was cutting out these pieces of wood that will be used to mount the ladder boxes. These pieces will be fiberglassed to the decks after we put the final fiberglass skin on them and will have threaded inserts for bolting on angle brackets to hold the bottoms of the ladder boxes.
When searching for whales out on the Silver Bank, Gene often perches on top of the ladder, putting quite a bit of stress on the ladder box mounts. If the stress of service allows water to penetrate into these cleat boards, they can be easily replaced and no water should get through the skin below and into the deck core itself.

While I was working with the table saw, the rest of the crew were over working on Fluke. Gene was doing some minor fiberglass work on small gussets and the forward bulkhead with Lane mixing resin and assisting.
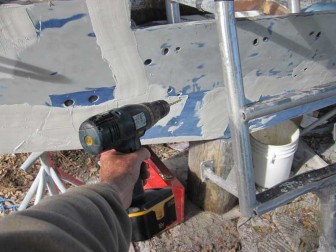
Colton and Adam were drilling holes in the boats and in aluminum backing plates and then dry fitting the stern cleats on both boats.

Gene and Lane finished their morning lamination work about the time that Adam and Colton finished their work dry fitting the cleats and backing plates. Here Gene and Colton are shown working on installation of fuel fill and vent fittings so that the hoses could be hooked up before the fiberglass shroud was laminating in place in the boat. Lane was preparing the lamination pieces.
Over on Pec, Adam was sanding down the repairs done to transom corners a couple of days earlier.

I was busy working on consoles. After fairing some previous repairs, I started cutting the King Starboard plastic face plates for the consoles. Equipment installations over the years have resulted in a patchwork of holes in both consoles. Our plan is to solve this problem by covering the console faces and tops with 3/4" plastic panels and cut fresh holes for the controls and gauges.
Lane was helping Gene laminate the fiberglass fuel hose shroud in place on Fluke. These hose shrouds were very cheap and easy to create (see section 11 of this series) and once laminated in place they were secure and nice looking to boot! A great improvement over the old plywood and fiberglass boxes they replaced.

I spent part of the afternoon clamping the hard top brackets in place on gussets and drilling holes to dry fit them with bolts.
In the background some of the drips from Gene's morning gusset lamination project can be seen.
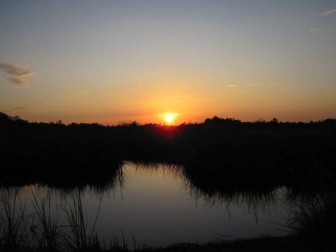
The day ended with another sunset that was nice, but not quite ready for prime time.

November 18, 2012
Adam Grinds All Day, More Fiberglassing, Consoles Coming Together
We removed a lot of stainless steel screws and bolts from the boats in the course of taking them apart and repairing them, and we saved any that seemed reusable in case they were needed in reassembly. A sign of the slowly changing tide in the rebuild project came when I decided to scrounge up the screws needed to attach the console doors and face plates from our inventory of spare stainless hardware. Instead of taking something apart and saving scraps, I was rooting through the scraps to put something new together!
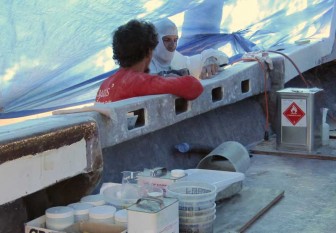
Gene and Lane were preparing to laminate the fuel hose shroud in place on Pec, with Gene doing a bit of final shaping with the grinder and Lane preparing the tools and supplies.
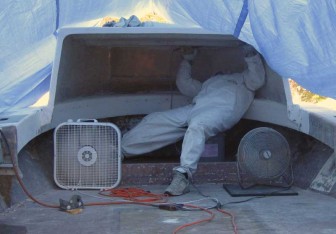
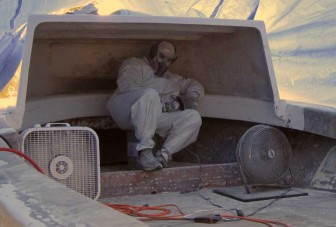
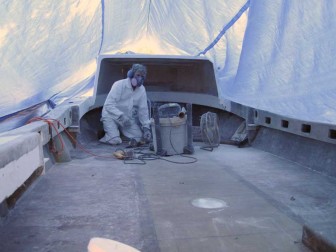
Meanwhile, Adam began a long day of grinding on board Fluke.
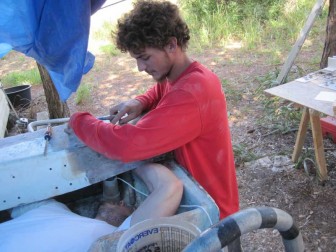
The two fans helped a bit, but he was soon inside a thick cloud of fiberglass dust.

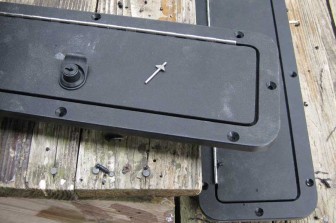
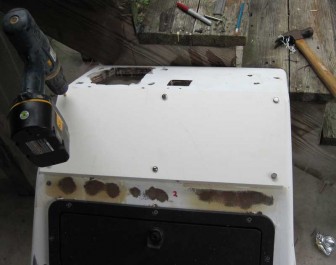
The screws that I scrounged up to mount the console doors were a bit large for the existing holes, so I drilled out the holes and enlarged the countersunk area around each one so the screws would sit flush with the door frames.
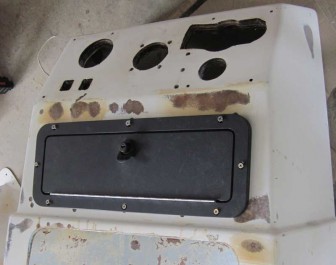
Once the mounting holes were adjusted, I drilled the corresponding holes in the consoles and did a dry fit with the screws in place on each console.

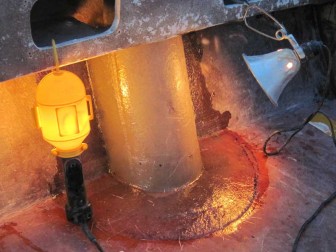
Over on the boats, Gene and Lane finished laminating the fuel hose shroud on Pec and put a couple of work lights on it, most likely to kick off a slow cure of the resin.
And on Fluke, Adam ground on...
It was starting to look like it snowed on the deck!

After the console storage doors were fitted in place, I moved on to drilling the holes for the new face plates.
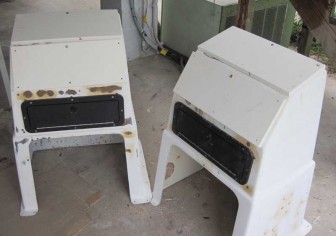
The consoles were starting to look more presentable with the new face plates and doors.

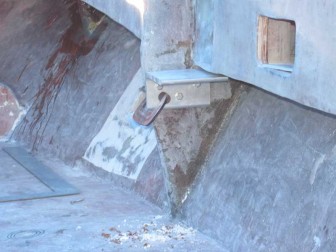
Among the miscellaneous projects of the day, Gene used a large hole saw on a drill to make the round inspection holes at the ends of gunwale face boards where we had replaced the boards. These holes and the rectangular ones are not used for under-gunwale storage access, though they could be. The holes are for access to the rub rail bolts and are covered with fiberglass plates when the boats are in service.
Adam was still grinding on Fluke when the last photo of the day was taken. He finished up under the dodger and vacuumed up all the dust, then set to work grinding the deck to prepare it for the final skin of fiberglass.

November 21, 2011
Opening New Yamaha 90 Four Stroke Outboards
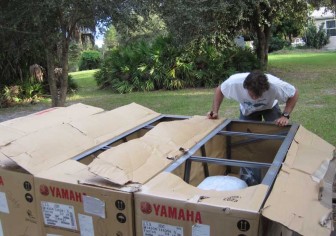
I guess one is supposed to do an "unboxing of" video for these kinds of things, but I just took a few pictures when Gene decided that the day had come to have a look in the four boxes he bought and make sure that they actually contained Yamaha 90 hp outboards in undamaged condition, along with the few parts that were supposed to come with each engine.
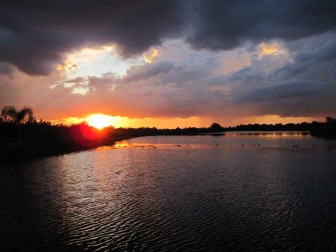
Checking on the outboards was the only boat project related activity, but there was yet another nice sunset on the creek. The sky was confused with nearby storms and the picture does not really do it justice.

November 22, 2011
Dennis Sand Blasting, Scraping Old Benches, Sanding Consoles, Fairing
Both boats had been pretty thoroughly ground and sanded where possible in preparation for gelcoat, but there were still nooks and crannies that were inaccessible to power tools where various layers of old paint remained. We could not be sure all of those layers were going to be compatible with the new gelcoat, so Dennis suggested that he could sandblast the problem areas.
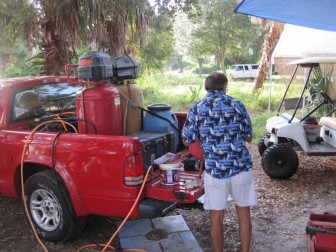
He showed up with two large air compressors in his truck, along with the sandblaster and a big, blue bucket of sand.
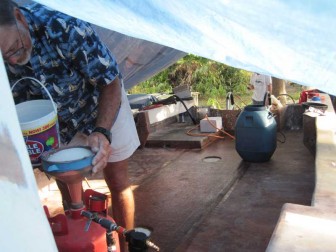
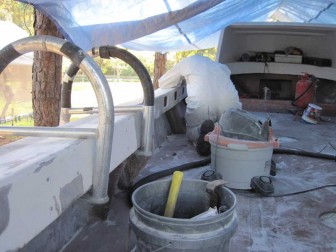
The sandblaster mostly consists of a metal pressure tank, so it is sort of heavy. The big bucket of sand was very heavy. In the picture at left, Dennis is loading sand into the blaster. The boat has been cleaned and vacuumed so that the sand can be recovered from the deck and reused.

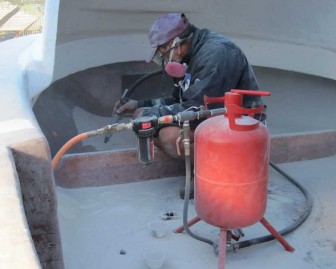
Dennis filled the air with a cloud of sand and dust, with most of the sand falling back into the boat and most of the lighter paint and fiberglass dust blowing away.
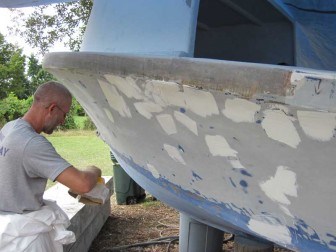
Outside the boat, Homer was making every effort to stay far from Dennis' activities as he faired the topsides on Pec. Dennis was working down by the transom by the time the picture at left was taken.

Despite Adam's full day attack with the grinder, there were still places on Fluke that were not yet ready for gelcoat. Gene spent a good part of the day sanding and grinding once again. We also spent some time scraping the old bench seats. Layers of material that had seemed attached before were coming off a bit too easily all of a sudden. It was a real cause for concern.
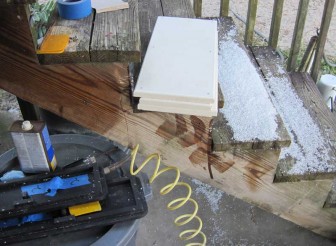
Plastic snow on the stairs that I use as a work bench. I went next door to borrow a router from my neighbor to round off the edges of the console face pieces. A sharp, new router blade eats through Starboard plastic so easily it can barely be felt.
The rest of my day was spent sanding the consoles with a pad sander. At the end of the day, my sanding had revealed a few surface flaws in the fairing on one console and Homer had a bit of fairing compound to spare at the end of a run, so he gave it one more wipe with the fairing compound. Once those patches were smoothed out, the consoles would be ready for fine sanding and painting.

November 26, 2011
Epoxying Transoms, Death of Old Benches, More Grinding
After a little Thanksgiving break down in Captiva, it was back to work!
I was unable to detect any major problems in the transoms of the boats back in April in the Dominican Republic and a surveyor friend with a moisture meter could not find problems once we got them here. Still, when the engines came off, a bit of probing revealed that there was some rotten core around the engine bolt holes at the waterline. We also found that the transom had been rebuilt taller than the original at some point and it was done by essentially adding a taller transom onto the existing one. The boats now have double transoms.
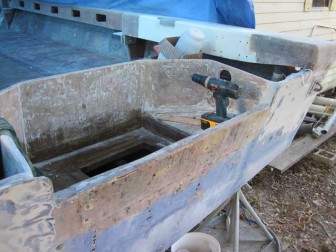
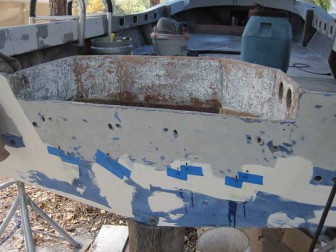
The plan for the day was to extract any rotten core from around the holes and inject the transoms with epoxy to seal the remaining core and fill the holes. Hammers and moisture meters can only reveal so much, so the first step was to find the full extent of the problem in the only definitive way: drill even more holes in the transoms to find out what's inside!
This went pretty well on Pec, where I found only minor rot around a couple of holes. I used the drill and air pressure to clear them out and nearby exploratory holes came up with clean core inside. The situation was a bit worse on Fluke, which had two areas of a few inches or so each that were rotten and minor problems around other holes. I kept on drilling until exploratory holes came up clean then used the drill at various angles to interconnect all the holes behind the skin. This removed most of the core material and a bit of probing with sharp instruments and air pressure took care of the rest.

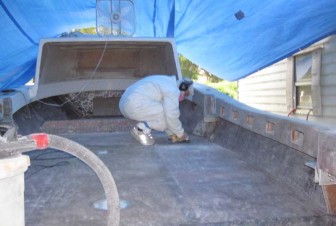
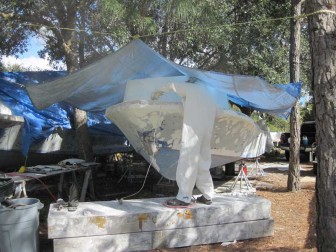
While I was working on the transoms, Gene was suited up and grinding on the bow of Pec. He was pretty tired of grinding by this point and even more tired of having me take his picture while he was grinding. I probably snuck this one when returning from a break and I'm not sure what he was doing.
The old fuel tanks made really handy work scaffolds!
Once again the transom on Pec presented fewer problems than the one on Fluke when it came time to inject them with epoxy. Drips are visible on the starboard side where the masking tape "dam" failed to hold back the liquid epoxy but that hole was mostly filled anyway. Each hole was taped off from the inside, filled with epoxy and taped off on the outside, then topped off via a small diagonal hole drilled down into the large hole. The diagonal allows air venting and prevents and bubble and once it is topped off there is just a minor dent to fill later.
The process did not go as smoothly on Fluke, where the masking tape over the larger system of holes failed badly. In an effort to stem the flow, I wedged a flat piece of fiberglass against the repair while it cured, but still had to go back and do it again to completely fill all the holes.

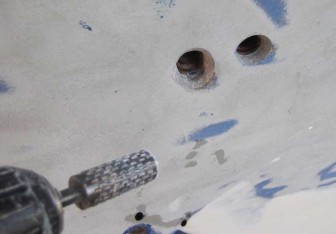
The upper holes on both transoms had no core problems, but we had decided to patch all holes and drill new ones when it came time to mount the new engines. I used a burr bit on the drill to shape each hole into an hourglass shape on both sides. The idea was to give the epoxy patch a fresh, rough bonding surface and to ensure that the epoxy plug could never come out if it broke free, being thicker at both ends than the middle.
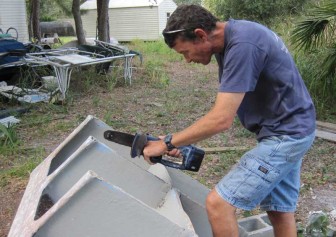
While the epoxy was curing, we started seriously looking into restoring the finish on the old bench seats and reinstalling them in the boats. Gene wanted to avoid the expense of new benches and the old ones were still strong and usable. We decided it was time to flip them over and have a look at the plywood core inside. The news was not good. There were significant areas of rot visible and I took a little electric chainsaw to the core and found the damage went pretty deep.
Gene was not happy at the prospect of yet another core replacement repair, but it would be necessary to at least replace some parts to re-use these benches. He decided to call Richard the welder and order new aluminum benches for the boats.

The sandblasting was effective at removing old layers of paint but Gene still spent a good part of the day grinding fresh repairs and touchup grinding to minimize further work that would be needed with the sandblaster.
Leave a Reply
You must be logged in to post a comment.