November 7, 2011
Another leap forward in time has occurred and I am returning to writing about this project on September 22, 2012, almost a year after the events unfolded. The pictures will have to tell the parts of the story I have forgotten.
When I finished putting away the pieces of the Sun Cat Nationals and returned to the job site, I found Gene preparing to bend the PVC fuel line conduit pipe for installation in Pec. He took me over for a brief tour of work accomplished in my absence on Fluke.
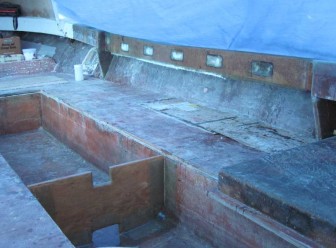
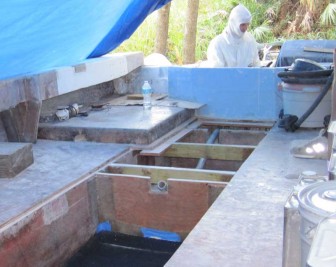
They had made and installed a new bulkhead in the fuel tank well. The new tanks are quite a bit shorter than the old ones were, so this partition bulkhead was made to hold the aft end of the tank. I assured Gene that putting the fuel tank in this boat further forward than the other boat by a foot or so would not make a noticeable difference in vessel trim. Later tests proved that wrong and this boat is a bit bow heavy, despite the 800-plus pounds of engines hanging on the stern.
They also put a fiberglass skin on the starboard inside gunwale face board and completed the repair of the deck skin in the hawse pipe area. They also put a couple of layers of fiberglass in the fuel tank well on Pec. The focus in the coming days was going to be installing the fuel tanks so that the boats could have decks once again, so prep work was underway.
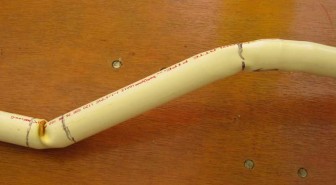
The PVC conduit pipes for the fuel lines had to drop down below a 2 x 4 deck support then come back up over the aft-most bulkhead. It is easy to bend PVC pipe if it has been heated a bit, as the one nice curve shows, and also easy to fold the weak part of the pipe by getting it a bit too hot, as the other bend shows.

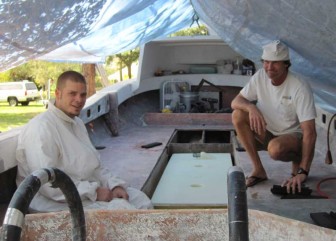
I have no idea what Adam and Gene are doing in this picture. Looks like they are test-fitting the new fuel tank in Pec. The picture does explain where part of my day went: that's my truck and empty Sun Cat trailer in the background. I'm guessing I was on my way to fetch the boat and put it away.
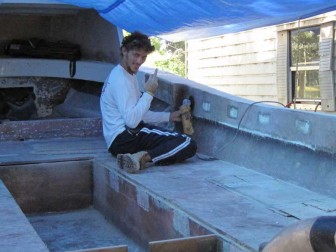
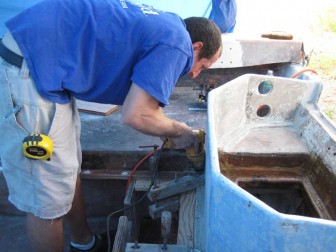
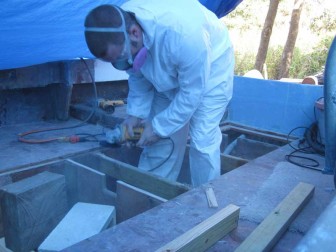
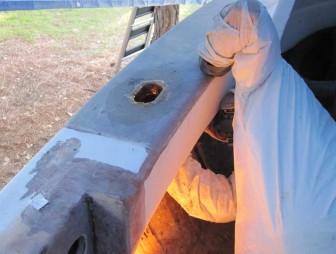
Colton was busy with the grinder over on Fluke. He had roughed up patches of the new fiberglass in the fuel tank well where deck supports will be tabbed on and was working on cleaning up the bottom edge of the face board.

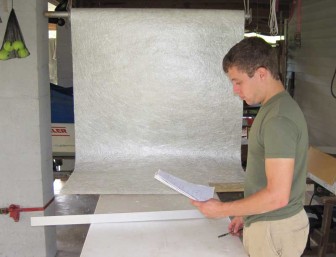
Lane had taken over my usual job of cutting new fiberglass, and was doing well enough that Gene just gave him a list of needed pieces and sent him off. He was preparing pieces to line the motor wells and tabs for the deck supports to be installed the next day.

November 8, 2011
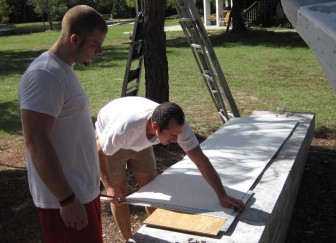
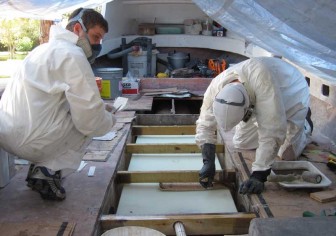
Lane and Gene prepared to put the finishing layers of fiberglass in the motor well on Fluke. The pieces of fiberglass have relief cuts to allow them to run up the sides of the motor well and to wrap around the lip where the hatch will be installed and stick to the underside of the deck. They are test-fitting the dry pieces of fiberglass to make sure they will all lay down smoothly when wet.
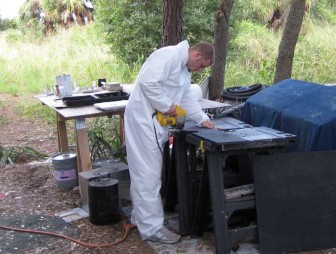
Micah returned to work with us some more. While Adam was preparing the motor well on Pec and the undersides of the deck in that area, Micah was making plywood scab pieces to join the existing deck to the new pieces. I found a picture of my table saw in the mix at about this point, so I guess I was cutting something. I don't remember what it might have been.

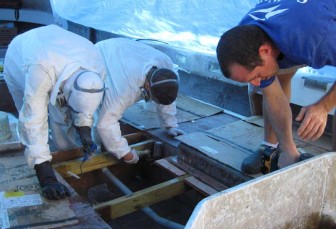
The plywood-cored stringers under the deck had suffered only minor water damage, but there was a fight getting the old deck off and the fasteners tore some chunks out. I cleaned out the water damaged areas and cleaned up the gouges then injected the stringers with West System epoxy to fill and seal the holes. Meanwhile, my photos show Micah dry fitting the half dozen or so scab pieces and Adam wiping down the motor well on Pec with Acetone.
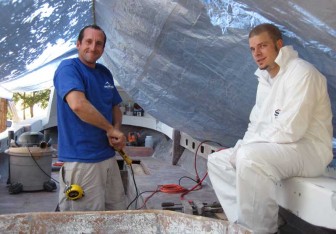
They look pretty pleased with themselves for some reason. I thought this was a better picture than the ones showing them actually working.
The work shots tend to look like this one of Gene and Lane finishing the new fiberglass skin in the motor well on Pec.
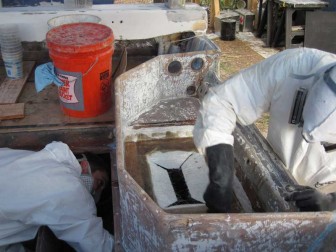
That's Lane down in the bilge, most likely attempting to use a bubble roller to get the fiberglass to stick to the underside of the motor well deck. Gene is wetting out the layer on top. The piece of wood labeled "A1" was used to bring the motor well deck level up a bit so it will drain better.

Micah was just finishing the dry fit on the scab boards for the aft end of the deck on Pec as Gene and Lane came over to glass the motor well.
And in came the fiberglass team. Lane is down in the bilge sticking the wrapped-under flaps of the first layer onto the underside of the deck while Gene wets down the second layer on top with resin.

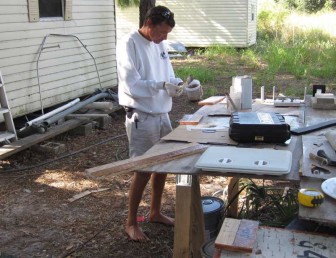
With both motor wells glassed, we moved on to finishing laminations beneath the deck. In the photo at right, I'm the barefoot fiberglass guy. I was coating half of each scab board with resin and a layer of mat to help them adhere to the underside of the existing deck.
While I was preparing those pieces, the rest of the crew were tabbing in the deck supports and attaching scab boards as I got them ready.

While that was going on, Adam was cutting pieces of the rubber mat we planned to use to pad the fuel tanks and prevent them from moving. Each tank well was getting a full rubber lining on the bottom and pieces in each corner and between the tanks and deck support beams.
Gene and Lane moved all the lamination tools and supplies from Pec to Fluke while Micah used a razor to trim the nearly-cured edges of the scab boards we had just installed on Pec. Once the pieces were fully cured, Adam removed any rough edges and scuffed them with a grinder to make them ready for decking.
At left, the crew is working on laminating deck beams in screwing on scab boards on Fluke. Over on Pec, Adam is finishing up with the grinder and vacuuming out the fuel tank well one last time before the fuel tank installation.

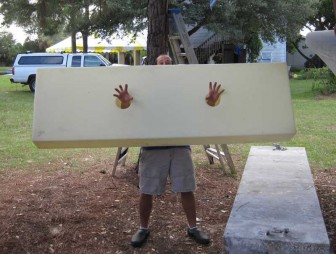
Micah went off to the shed to fetch the new fuel tank and came back showing off his own innovative way of carrying it. Those holes add rigidity to the tanks and make decent handles too!
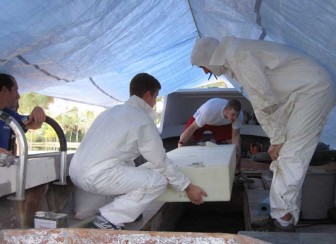
And the first fuel tank goes in a boat! We had become so used to working around big holes in both boats, it was going to take a little while to get used to having decks on the boats again. This was a big step in that direction.

We took advantage of the stiffness of the rubber mats, wrapping a piece around each end to hold the tank firmly in place while still allowing for it to expand when filled with fuel. These plastic tanks expand by a few percent when filled with fuel for the first time and the rubber corner wraps will allow them to expand while holding them securely in the center of the well.
The rubber end wraps were a tight fit to install. In the picture at left, Gene is tapping one into place using the Mighty Mini sledge hammer and a piece of 2 x 4.

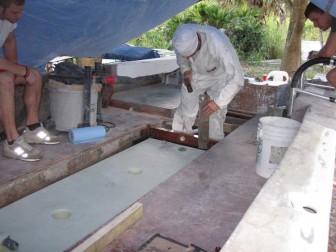
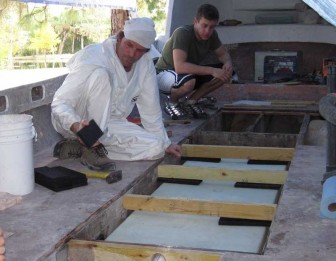
Once the tank was in place, Gene started tapping in the deck support beams and test fitting the pieces of rubber mat that would go between them and the tank, preventing it from bouncing up in waves.
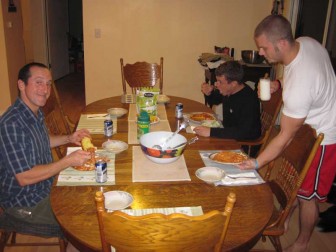
I think I stopped work a bit early that evening so the work crew could help take down the party tent from the Sun Cat Nationals. The next picture in my camera was the one at left, showing our heroic attempt to eat a lasagna of truly epic proportions. We all did our part and Adam had at least two of those fully loaded plates, but still we only ate about a third of the thing.

November 9, 2011
These two boats were manufactured at the same time, but they are not quite the same in several ways, one of them being the bottom of the fuel tank well. The tank well on Pec had a flat bottom, so we just put a rubber mat down there and set in the tank. The one on Fluke did not have a bottom, so it followed the V of the hull. A tank set in it would only be supported along the long edges.
We decided to support the tank by laying in a piece of plastic on top of expanding foam. The foam would support the plastic and the rubber mat and fuel tank would sit on top. Our plan was to lay a piece of plywood on top of the plastic and weight it with concrete blocks while the foam cured.
While that was going on outside the boats, Gene and Lane were tabbing in the deck support beams across the fuel tank in Pec.

We poured the foam mixture into the fuel tank well on Fluke and while waiting for it to cure, Adam ground down the top of the new bulkhead to make it level with the deck stringers on either side. You can see the concrete and a chunk of wood being used to weigh down the plywood and make the foam flat.
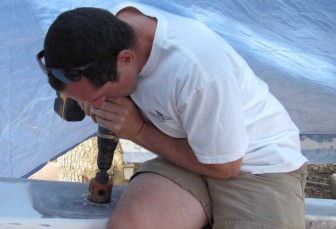
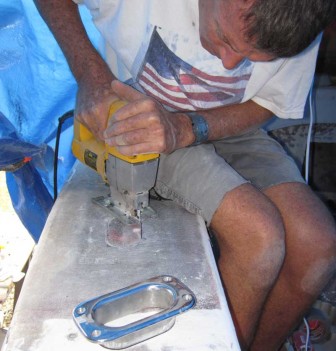
While waiting for foam to cure, Micah used a large hole saw that happened to match the radius of the ends of the hawse pipes to make holes in the starboard deck of Pec. The two holes were later finished off and the excess in the middle cut away with a jigsaw.

Over on Fluke, I traced the hawse pipes and cut the outlines with a jigsaw. Cutting out the hawse pipes gave me my first real look at the repairs we had done in those areas. I was surprised by how thick and sturdy the pieces that came out were. The repaired areas are overbuilt and would be strong enough if we had used fewer layers of cloth and mat, but I guess that is better than cutting them open to find that they really do not appear strong enough.
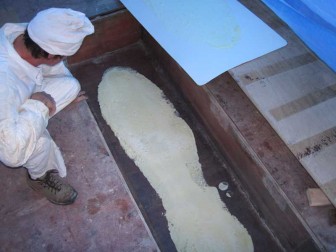
Down in the fuel tank well, things did not go well on our first foaming attempt. The expanding foam easily lifted the plywood and concrete block weights and rose up instead of expanding outward all the way to the edges. When we removed the plywood, we could feel that the plastic was resting on a hump. The picture at left shows the foam hump after the plastic was peeled away. Not right. We scraped it out with drywall knives.

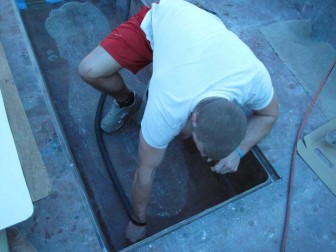
Removal of the first foaming attempt left debris in the bottom of the tank well so Adam vacuumed it out and wiped it down again before our next try. We could see that the foam easily lifted the concrete blocks, so a lot more weight was needed if we wanted to force it to expand outward instead of upward.
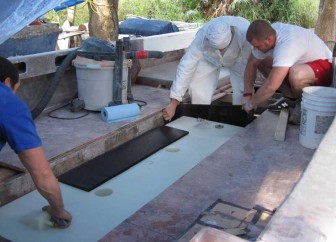
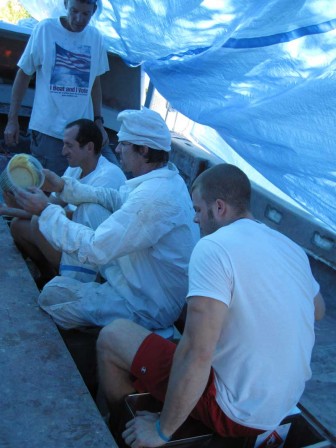
This time, we put the heavy rubber mat on top of the plywood, along with the concrete blocks we had previously used. The aft end was then weighted with Adam seated atop two 5 gallon buckets of polyester resin. Gene was in the middle on another bucket of resin and a bucket of acetone. Micah was on top of another bucket of resin and I was straddling a final one up forward. A video of Micah pouring the foam mixture and all of us weighing it down is below.


We all stayed in place for a while to let the foam cure, then left the resin buckets and concrete in place for a while after that to make sure it was through expanding. When the weights were removed, the rubber mat was evenly supported and we could see where a little foam had expanded around it at the aft end, running up the blue tape we had put across the bulkhead.
Gene went back to work with sticky substances, this time sealing the plywood core edges of the new hawse pipe holes.

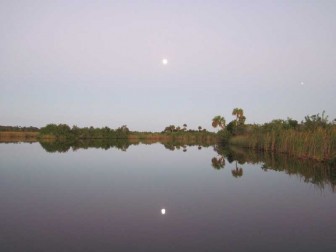
Every evening, we take the dogs down to the creek at sunset. I have a Facebook album of sunsets, but this one does not quite fit, yet was too nice to throw out. A great reflected moonrise over Shell Creek.
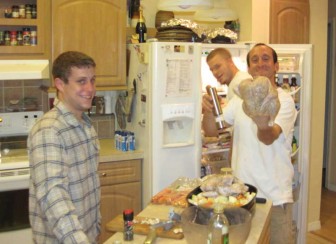
Micah refused to observe our tradition of flipping off the cameraman while working, but he did show me the bird as he was making a delicious chicken stew dinner.

November 10, 2012
The day started with a series of small projects that were needed to accomplish the big project of the day: installing the fuel tank in Fluke. I was cutting fiberglass tabs for the deck beams while Micah was using soapy water and a sharp knife to trim and bevel the edges of the rubber mat that would lay underneath the fuel tank. Gene, Lane and Adam were preparing mixing pots, trays, rollers and such and making sure we had everything ready for lamination.
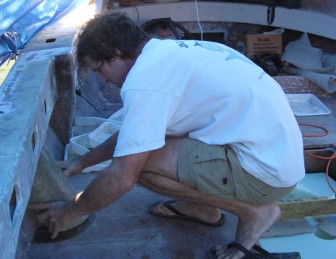
Side projects for the day were to wrap the two transom corners on Fluke with fiberglass mat and cloth, and no fiberglassing can take place without some grinding. In the pic at left, Gene is rounding corners and roughing up adjacent areas of fiberglass to ensure the repair pieces lay smooth and stick to the existing structure. After grinding, the area was cleaned with compressed air or a shop vac and wiped with acetone prior to lamination.

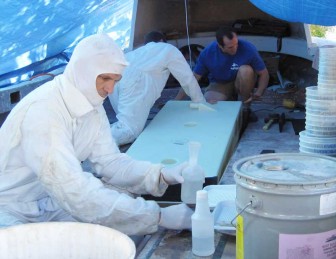
In the foreground of the picture at right are all the pieces of fiberglass for our day's work, along with two scissors and a razor knife. Two scissors because one would wind up sticky from cutting wet fiberglass and it is nice to keep one clean and dry. The razor knife is just faster and cleaner where it can be used. Micah was dry fitting the wood pieces for the inside of the port corner on Fluke and Gene and Lane were suiting up and laying out supplies to mix resin.
Meanwhile, we had decided that the stringers on Pec drank up the previous epoxy injection a bit too readily, so Adam went over to give them another dose.

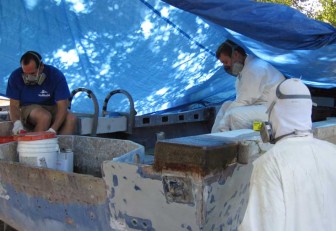
Gene was measuring out the hardener for the first batch of resin as Micah and Lane placed the fuel tank in the well on Fluke. Stacks of clean mixing pots and resin roller tray liners are ready to go. On the other side of the boat, the acetone bucket is clean and has a fresh batch of acetone for soaking bubble rollers and brushes.
The corner Gene is working on in this picture had a lot of different sized and shaped pieces of fiberglass cloth, some wrapping deck to transom, some deck to outside, some in more than one direction, etc. Some had the necessary relief cuts to make the required wraps but on some it was impossible to measure that cut in advance. I was handing Gene pieces of cloth in the right order and orientation, then cutting them as needed so he could smooth them down. In the background, Lane is mixing more resin and Micah is refreshing his roller. He was working on tabbing in the deck beams over the fuel tank.

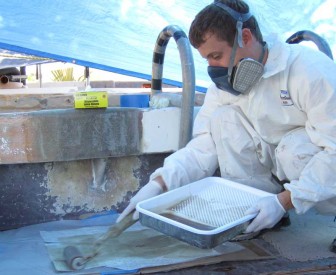
Some of the pieces we were using were biaxial cloth, which is harder to wet and stick on in place. Lane was wetting out those pieces on a piece of plastic as they came up in the lamination schedule.
At left, the corner Gene is working on is nearly built up and Micah is well along in the process of tabbing in the deck beams over the fuel tank.

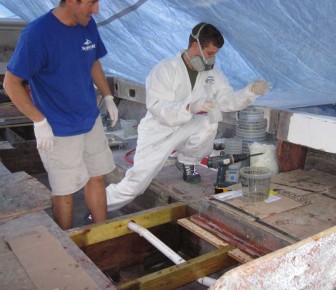
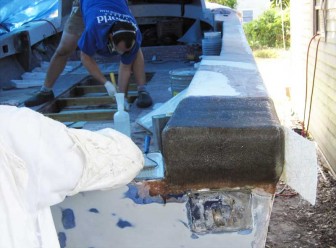
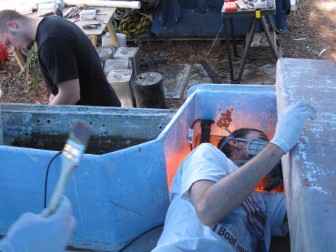
Once the starboard corner was done and the deck beams glassed and sealed, we turned to the repair of the port corner on Fluke. The plan involved a couple of marine plywood filler pieces screwed into the transom and outside edge and then glassed over. The pieces were cut with bevels to allow fiberglass mat to lay over them and we had some chopped glass putty on hand to fill any areas that might otherwise develop an air bubble. At right, I'm putting the wood pieces in place as Micah screws them in from outside. I think that is Lane's hand giving me a brush in the foreground. In the background, Adam is patching holes in the transom with epoxy.
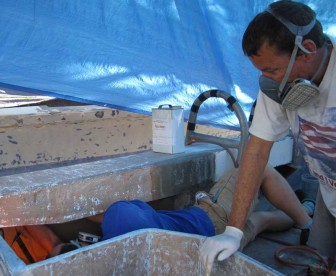
I somehow managed to work my way out of upside down lamination duty and a picture taken a bit later shows Micah laying under the railing and applying fiberglass.
While we were working on that corner, Lane was cutting 2" PVC pipe pieces to be used as fuel and bilge hose conduits through the deck.

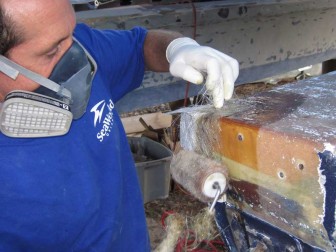
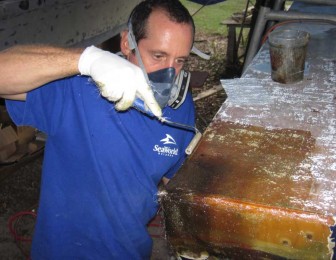
Once the inside layers were complete, Micah and I set to work on the outside of the port corner on Fluke. He was laying on pieces as I handed them out and made necessary relief cuts.
Going over each layer with a bubble roller helps to mesh them all together, smoothing the repair and helping it all hold together over time.

While we were working on the corner, Gene was shaping the fiberglass fuel hose shroud he had created to fit the angles of the sides of the boat and deck. Once it was ready to be attached, he turned to trimming rough edges on the deck beams from the morning's lamination and preparing that area for the new deck panels.
In the evening we brought the new deck pieces out of the shed to dry fit them in the boat and measure locations and clearances for the deck plates. Each tank required a large deck plate at both ends and smaller ones were needed to access all bilge areas for inspection. The holes had to miss the deck beams on the bottom side and be out of the way of attaching the bench seats above.

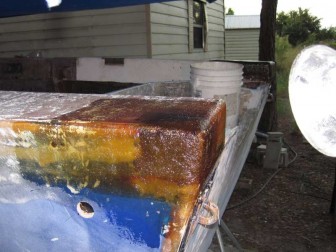
The final pictures of the day show our repair of the port corner under a bright work light. This was not to properly photograph our brilliant work. It means that we were concerned that dropping temperature at the end of the day might mean the resin would not cure properly. We had to adjust the mixture for different temperature ranges throughout the day, but the steep drop at the end sometimes created problems. This was one of those times. Use of work lights and heat guns or hair dryers always solved the problem.
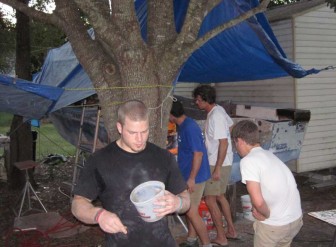
In the last shot of the day, Adam is busy cleaning the cured resin out of mixing pots so we can reuse them while Gene and Micah appear to be trying to give the curing process a little body English.


Leave a Reply
You must be logged in to post a comment.