September 25, 2011
Rebuilding Side Deck of Fluke
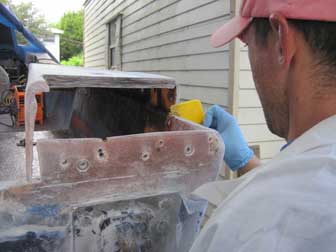
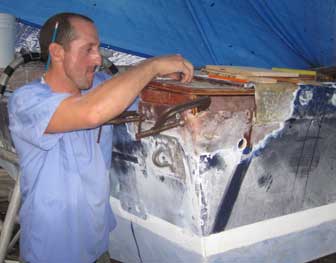
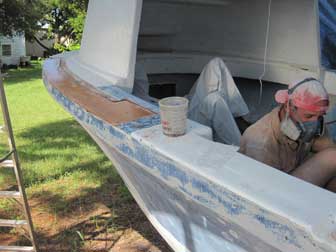
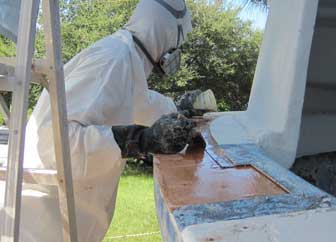
The morning began with final preparations to install the scab board underneath the side deck and replace the deck core and gusset that we removed earlier. In the picture at right, Micah isx spreading chopped fiberglass putty in a few places that needed to be built out a bit. Next he went underneath the gunwale to put a fillet of chopped glass in the hull to deck seam.
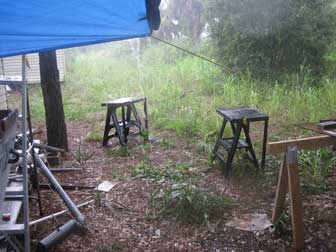
Before long, our work was stopped by a passing storm. This was a common occurrence, but this one was heavier than most so I took a picture of the runoff coming off the tarp.

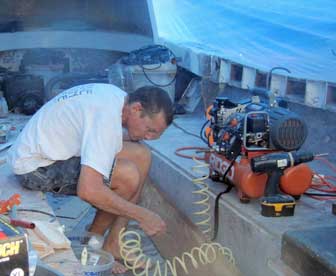
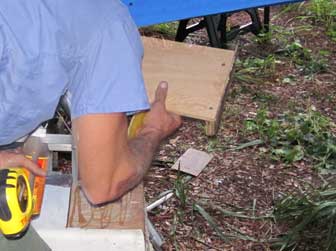
A day or two before, my long-suffering Porter Cable pancake air compressor had finally died. I had been wanting a new air compressor for several years, so I was not too unhappy to see it go. The replacement is a Ridgid Air Compressor, and is better than the old one in several ways. Most importantly, it is a higher volume compressor and more CFM means more useful for air tools. In the picture at right, I was using compressed air to blast the dust off of the scab board that we were about to install. The new machine almost kept up with me! I would have spent a fair amount of time waiting for the old pancake one to recharge.
The new compressor also separates in half, with the upper half consisting of the compressor itself and a small tank and regulator. The lower half consists of the twin pressure tanks and another regulator with two outlets. This will be handy when I have a small job and do not want or need to lug the whole thing around. Soon after this photo was taken, we figured out to put the air compressor over in the shed and run a 100 foot air hose out the window to the boats. Having a larger volume compressor was really nice, and not having to listen to it at close range might have been even better!
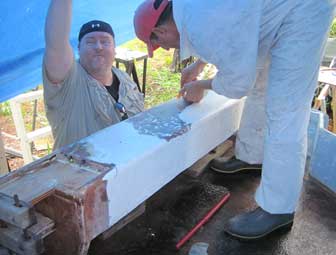
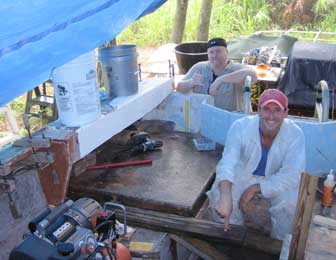
We glued the scab board in place using Gorilla Glue, which is a polyurethane glue that expands like two-part polyurethane foam. The expanding foam will fill any small gaps between the two surfaces. In the picture at left, Steve is holding our rain tarp up while Micah injects polyester resin into exploratory drilling holes we made in the old deck core. The scab board is clamped in place at both ends and the blocks in front of Micah's boots hold the two bottle jacks that are pressing the middle part up in place. The gusset is also holding it up, but nothing his holding the gusset itself in place as yet.

With Gorilla Glue expanding behind it, we needed some way to force the gusset back against the hull side while the glue cured. If someone makes a clamp that could do this job, I certainly do not own it, so Micah improvised. Various scraps of 2x4 placed in strategic ways created a lever assembly that just needed a little presssure in the right spot to press the gusset hard against the hull.
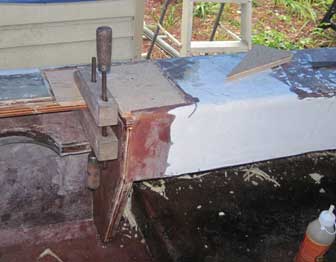
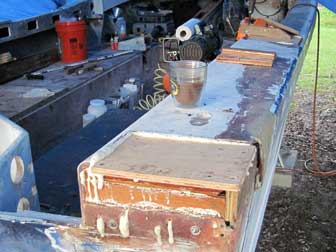
The picture at left, taken after the glue cured and we were able to remove the bottle jacks, shows the scab board glued in place and Gorilla Glue foam residue that has crept out from under the piece. The excess glue/foam is easy to scrape, cut or sand away.

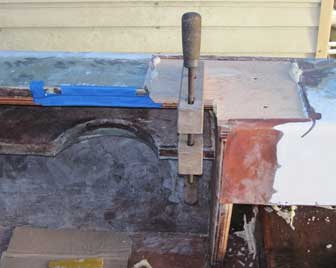
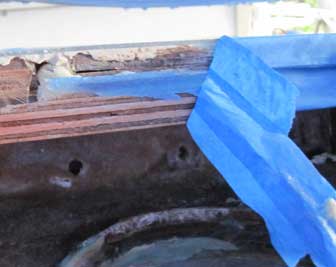
Once the scab board was cured in position, we glued in the replacement deck core section. A wood clamp held half of it, but the aft part was in an area that could not be clamped so screws held it down while the glue cured.
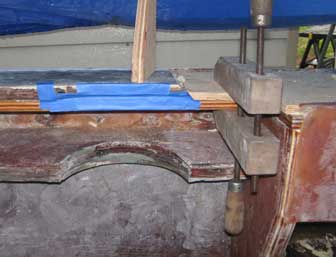
The removal of the old SCUBA tank rack just forward of the repair area had left us with a problem: there was a semi-circular gap in the deck core under the skin. We decided to pump this area full of Gorilla Glue and then tape it shut, allowing the glue to fill the area and expand into any nearby gaps to bond it all together.

The last piece of the day was the replacement deck core in the aft starboard corner of Fluke. We attached a filler piece to the side of this one so that we would have something to which to apply fiberglass at the next stage in this repair. Both pieces are laying on top as Micah prepares the spot.
This shot shows the side filler piece glued and screwed to the deck core as Micah drops it into place.
The past couple of days of work have featured a lot of photos of Micah working and not much mention of Gene at all. I was usually helping Micah and taking pictures, while Gene spent endless hours over on Pec with his grinder.

September 26, 2011
Installing New Pieces on Fluke and Beginning Port Side Repair on Pec
After curing overnight, the Gorilla Glue has once again left foam squeezing out all over the place. The excess material is easy to cut away with a razor scraper and sand smooth. This repair will be encased inside new fiberglass when we are done. I think it will withstand the inevitable bashing against the ship quite well.
This piece of deck core was deliberately made a little oversize to allow us to round it off smoothly with the existing structure, and this is also the area where we attempted to use Gorilla Glue to fill in the semicircular gap left in the original core when we removed the old SCUBA tank rack. In the lower right side of the photo, you can see that one of us has already been underneath the gunwale scraping away excess foam from the scab board.

Peeling away the tape, I found that the Gorilla Glue had expanded enough to almost completely fill the gap. The remaining area was easily filled with fiberglass putty and resin.
We were preparing to install the face board on the starboard side of Fluke and at the same time cover the other newly installed wood with resin to waterproof it. Here, Gene is grinding away a few high spots so it would lay smooth. Although the boats were under tarps, those might blow off in any afternoon thunderstorm, and water could blow underneath in strong winds.

While Gene was running the grinder on our starboard corner repair, my friend Dennis showed up to check out the job and offer some advice. Dennis runs the Charlotte Harbor Community Sailing Center and has built and rebuilt a lot of boats over the years. He is the first person I call when I am wondering whether something I am considering doing will actually work. We had a lot of questions for him!
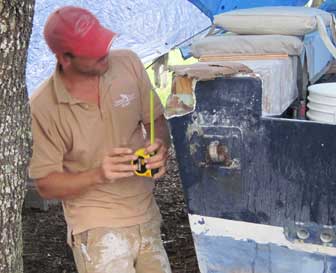
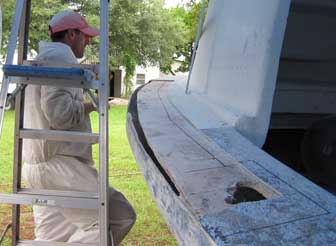
The port corner of Fluke did not need as much rebuilding as the starboard side had, but we had to remove parts of an old repair and add in a couple of pieces of wood around which to build the new corner. Here Micah is measuring and fitting pieces for that purpose.
We attached the face board to the starboard side of Fluke and sealed it with resin, then did the same with the rest of the starboard corner repair. At some point in this process we misplaced the catalyst mixing chart and spent a few frantic moments looking for it. I decided to take a picture of it just in case we could not find it the next time. The mixing chart is a guideline that gives the amount of catalyst required for different amounts of polyester resin at different temperatures. The actual "best" amount to use varies based on other factors, notably humidity. The resin we put in the starboard corner did not quite kick off properly in the humid conditions that day, so Dennis heated the area with his heat gun.

One area of concern was a previous repair on the port side of Pec. Gene had ground out a lot of the old material on the inside, but we wanted to ask Dennis how he would proceed from here. In the pic at right, Dennis and Gene are discussing repair options for this area.
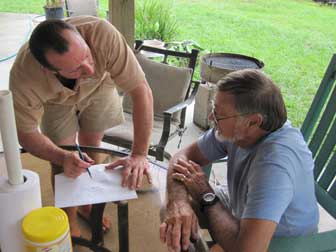
At lunchtime, Micah and Dennis were sketching out repair diagrams on paper towels. Many vexing problems can be solved if you just take time to eat a sandwich and draw solutions on your paper towel.

While our lunchtime conference was extended by an afternoon shower, it did not stop Gene from doing some more grinding.
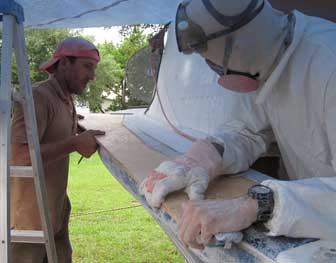
By the time we finished eating and hashing out designs, the rain had let up and Gene had the tarp tied up high again. In this shot, he is trimming the edge of the deck skin where it turns down around the hull. The plan is to remove the deck, grind out the area from the inside, replace the deck and rebuild the inside lamination, then grind and laminate from the outside to sandwich the repair inside and splice hull and deck back together.

The picture at right was taken as Micah finished marking the area of old deck core to be cut out. Some of this core is being removed because it is damaged, while some is being removed just because it is in the way and repairs will be easier with it cut out. The area most in need of repair is forward of the hawse pipe, but the rips in the deck in that area meant replacement of the surrounding area was the easiest approach.
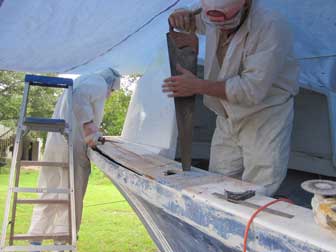
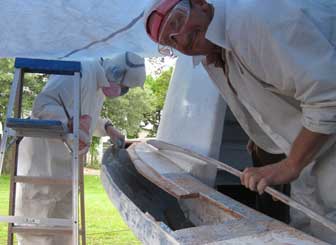
The long cuts were made with an 18 volt cordless circular saw. In this picture, Micah is using a hand saw while Gene uses a drywall saw to cut away the corners neatly.

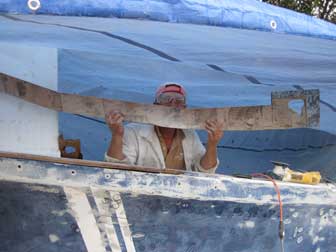
And out it came!
Why is this man smiling?

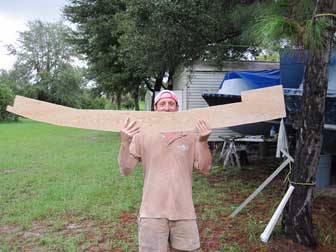
We traced the old piece onto a fresh sheet of marine plywood and after a little remedial grinding in the corners it was a snug fit. We held it in place and traced the edge of the hull onto the wood to cut the curved outside of the new piece.
Why is this man smiling?

I was starting to put away cutting tools for the day when I heard Gene and Micah puzzling about something out at the boats. I went out to find that while our new piece was the right size, it was not the right height, and they were wondering how to fix this problem. The marine plywood we were using was almost, but not quite, as thick as the original core material in the deck. This difference would be exaggerated by our method of attaching old to new: a scab board underneath. The original core has a fiberglass skin on the underside, so the scab board would be lowered by the thickness of the skin. The total difference would mean that we would have to use a lot of fiberglass on top to make it smooth.
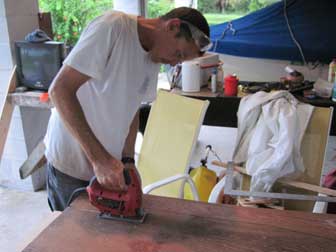
I had the idea to cut out some old fiberglass skin from our many existing pieces and use it as a shim between the new core and the scab piece that would connect it to the old. In the picture at left, I'm using a little jigsaw to cut the shim out of an old piece of deck skin. Good thing I remembered to put my safety glasses on my head! Might have lost them otherwise!

September 27, 2011
Assembling Side Splice for Pec and Glassing Under Fluke Aft Corner Repair
We assembled the rest of our core splice sandwich this morning. The deck patch will be glued to the scab board and between the two pieces of wood will be the thin shim of old fiberglass. To help everything stick together, we roughed up the piece of old glass and the wood where they will meet and cut pieces of fiberglass mat to go between the layers. The mat will help to mechanically bond the wood to the old skin. While Micah and I worked on the pieces, Gene dove into the anchor locker on Pec with the grinder to rough up the area that will receive the scab board. By mid-morning, we were starting to get the pieces wet.
First the pieces were assembled right side up, making an almost-successful effort to leave the protruding part of the scab board dry. The picture at left shows Gene and Micah soaking the top side of the core patch.

To keep things moving and soak the core section on a single mix of resin, we brought out my nail board. It is an old real estate sign that has finish nails through it in a fairly tight grid so the side that is wet with resin will rest on a bed of nails. Any small imperfections created by the nails will just add "bite" to the surface later on when we cover it in fiberglass.
After the resin cured, we had to get rid of slop and mistakes. Micah used the Dremel MultiMax to trim edges and Gene used his grinder to knock down drips and bulges.

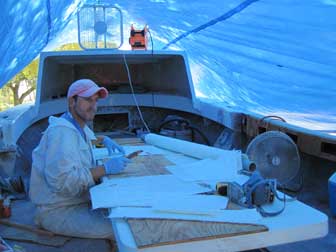
For our afternoon project, we moved on to laminating the underside of the gunwale repair in the starboard corner of Fluke. We cut several pieces of fiberglass mat and biaxial cloth in advance, but were not sure what others would be needed and we wanted the ability to cut pieces to order during the layup. The solution was to set up a folding table in the fuel tank well and put a junk piece of plywood on top as a cutting surface. It worked out well! The picture at right shows Micah at our cutting desk.
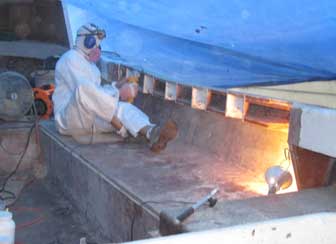
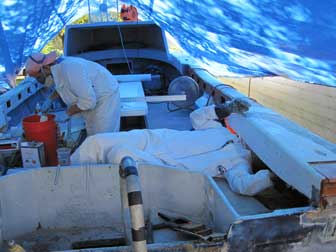
The desk was about the only thing that really went well with this lamination. The underside of the scab board was encased in an inverted "U" of fiberglass cloth. To make it lay smooth, some areas required a bit of chopped fiberglass putty and custom relief cuts in the cloth. The worst part for Gene was that he could see the outside and top of the repair without putting his head underneath, but to avoid working blind on the inside part he had to remove his respirator and dive under. His head could not fit underneath with the organic vapor cartridges on the mask. We kept several fans going, but he still came away from this one a bit loopy.
There was much cursing and frustration as the layup progressed. We made a long list of newbie mistakes and Gene's upside down fiberglass application techniques were in their infancy. There were several times that pieces fell down, fell apart, refused to go in place and stay there, etc. We learned that it is darn near impossible to get biax cloth to wet out from below, so it is best to pre-soak it before application. We tried doing that with fiberglass mat and found it is easy to overdo. Mat can be applied dry, but if you try to put some resin on it before sticking it up making it damp but not soaked worked best. Soaked pieces fall apart and are too heavy to stay in place.

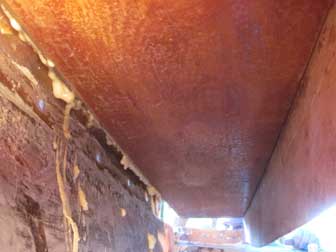
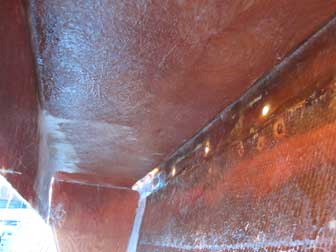
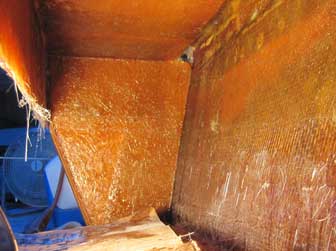
I stuck my camera underneath the gunwale to see what all the cursing was about, and it really does not look bad to me! The dry fiberglass mat on the left side of the picture was, of course, the hard part to soak, but the picture shows that the previous pieces are soaked in and laying flat. From the way Gene had been talking, I expected a lumpy mess of cloth barely hanging in place!
When he had worked his way forward to the new gusset, Gene incorporated the tabbing around the edges into the scab board skin to make the whole section into a single piece of plastic. Intermeshing the layers with wet resin results in a chemical and mechanical bond that is far stronger than a mechanical bond alone. It also looks pretty darn smooth and strong! Too bad no one will ever see it. I ended the day by adding a few leftovers to the Industrial Art and witnessing a great sunset down on the Creek.

September 28, 2011
Installing Core Splice on Pec, Hawse Pipe Removal and Team Grinding Attack
Micah had to leave this day, but not before seeing the new piece installed on Pec. He and Gene held it up from below while I held it from outside, but not quite well enough. The screws coming up from below pushed it out of place on our first attempt, but we got it right the second time.
Gene poured and brushed the last of the resin into the seam between old and new core sections to seal off the edges. The new piece was bonded on with resin, a layer of mat, and screws and will eventually be encased from below then ground down and wrapped in the new deck and flange skin.

Changing of the guard. Micah was leaving, but Scott showed up to rejoin the grinding team. He's happier than he looks. He is not going to spend the entire afternoon underneath a boat this time!
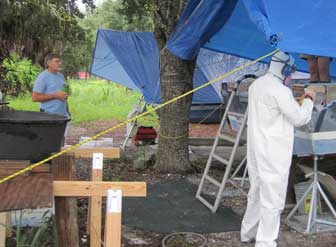
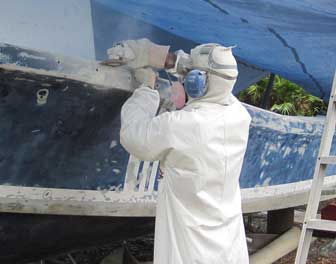
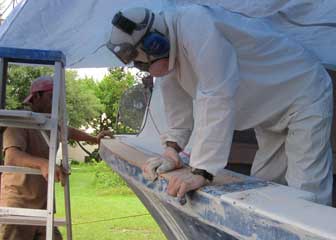
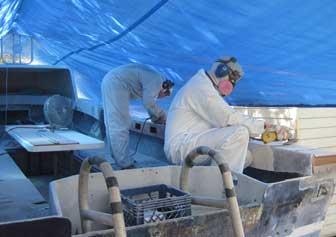
It is surprising how two workers with two grinders seem to move more than twice as fast as one. Here Gene and Scott are making the dust fly on the starboard side of Fluke. I was down between the boats with the random orbital sander, still sanding away at the topsides. The sanding and grinding seemed endless at times, but having friends come and help really moved things along and improved morale.

With Scott grinding and me sanding, Gene decided to busy himself by beginning repairs to the hawse pipe deck areas on both boats. The port side of Pec was taken care of, but the starboard side still needed attention and both sides of Fluke were also in need of repair. On the starboard side of Fluke, the support leg from the old hard top had torn up the deck just aft of the area where the hawse pipe should have been. We decided the easiest way to deal with both repairs was to cut out the entire area and all nearby affected wood. Because the skin on both sides of the core was also damaged, the new piece will be integrated into the old structure with new top and bottom fiberglass layers.
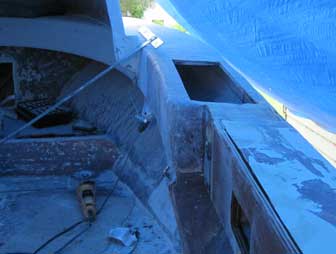
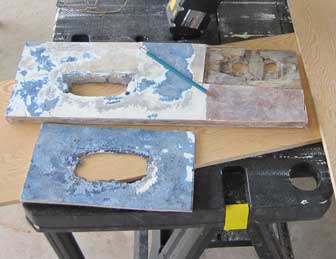
The port side of Fluke was in better shape, so to fix that one we just cut off the deck skin and removed a small piece of core, leaving the skin intact underneath. The picture at left shows the port side skin and the chunk we removed from the starboard side.

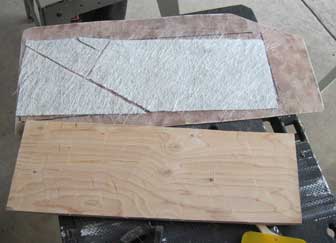
To make a patch for the removed piece of deck that included a firmly bonded skin, I cut an oversized piece of skin, ground it and the new plywood with a coarse grinder and cut some scraps of fiberglass mat to fit between. Here are all the pieces after solvent wiping, ready to glue.
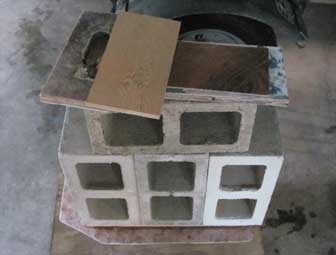
I used West System epoxy to soak the fiberglass mat onto the old skin and to pre-wet the plywood surface, then put the two together and put 4 concrete blocks on top in a stack to clamp them together. While I was putting these together, Gene was cutting out the area around the starboard hawse pipe on Pec. The picture at left shows the concrete clamp holding together the patch for Fluke with the old and new pieces for Pec on top.

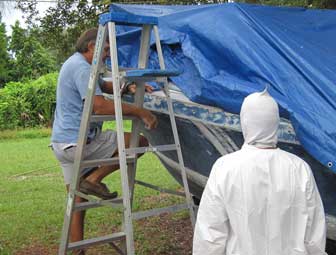
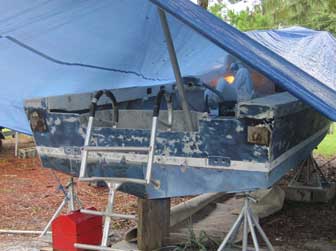
Leave a Reply
You must be logged in to post a comment.