September 20, 2011
More Sanding and Grinding
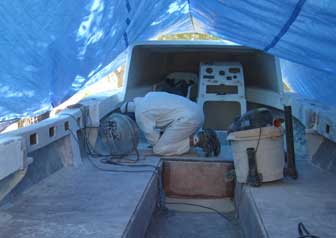
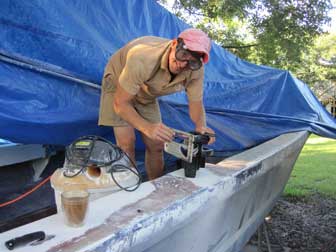
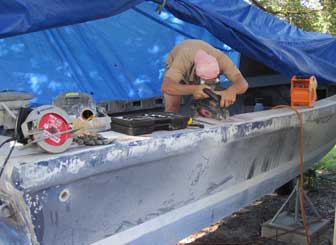
If you want to build or rebuild fiberglass boats, you had better not mind sanding and grinding. We spent many hours doing both. On this day, Gene mostly finished grinding out the deck and parts of the sides on Fluke.
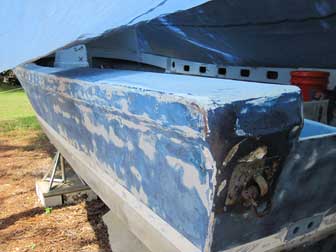
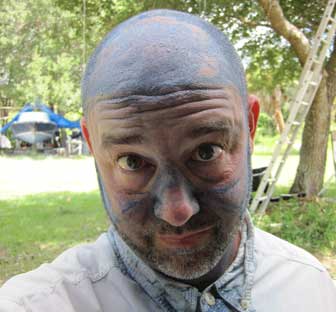
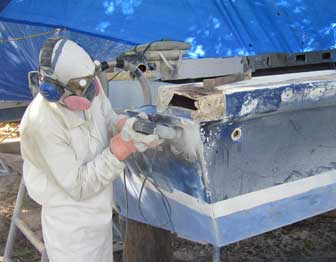
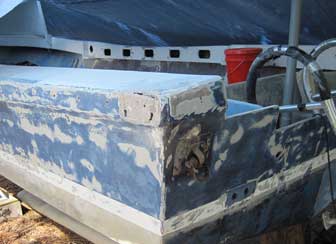
Meanwhile, I continued to sand the old paint off the sides of Pec.

September 21, 2011
Still More Sanding and Grinding
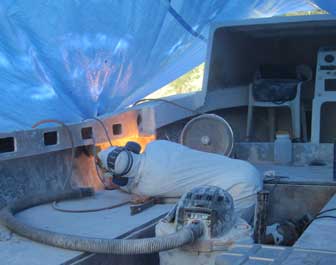
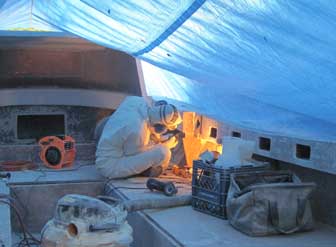
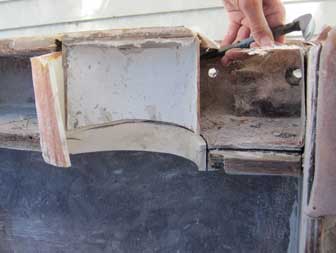
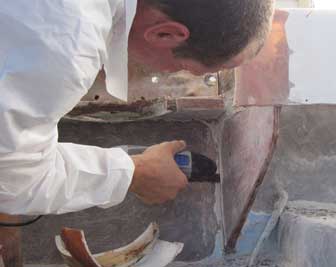
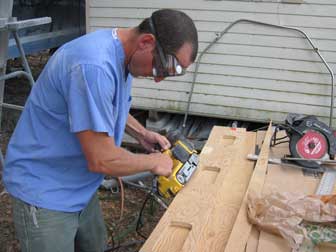
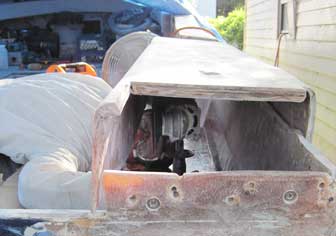
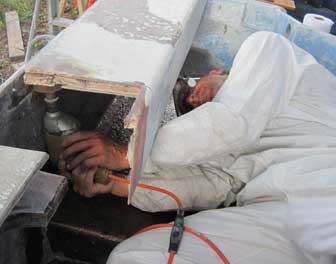
The fuel tank vents and hoses were corroded junk and because of the way the gunwale had been reconstructed after the original side benches were removed, access to the vent fitting was going to be extremely difficult. Gene decided that the easiest way to do it would be to just cut out the box that enclosed the fill and vent hoses as they passed down under the deck, then rebuild it later once the new hoses and fittings were installed. In the picture at right, he is grinding away the remains of the tabbing that held that box.
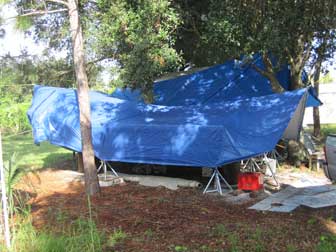
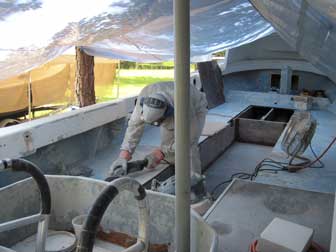
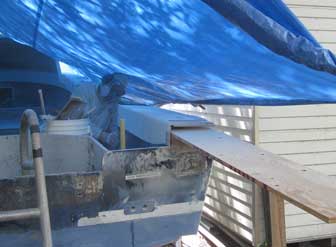
I was sanding the topsides some more until a rain storm came along. It looks sunny in the picture, but at this time of year, that just means we are between rain storms. The tarps did a good job of keeping out the rain when lowered all the way down onto the boats, but made sanding the sides impossible.

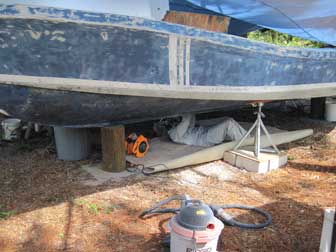
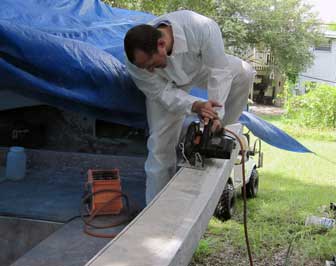
Scott returned to help out again, and once again drew the short straw. He arrived too late to grab the sander, so was sent back underneath Pec with his small grinder to continue removing old bottom paint.
Laying underneath a boat holding up a grinder while particles rain down on you is no one's idea of a good day.

September 22, 2011
Exploratory Boat Surgery Reveals Trouble
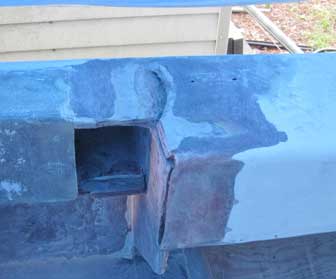
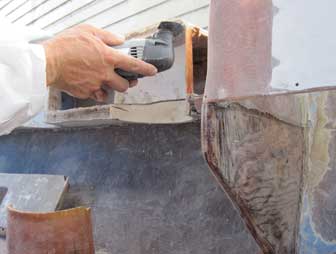
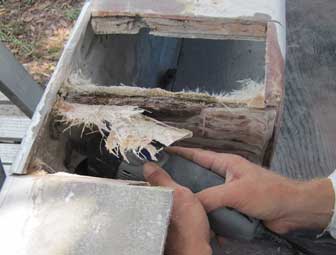
Thursday the 22nd began with a clean-up session. We had a lot of debris from the removal of deck skins and fuel tanks piled in the job site and about 1/4 inch of grinding dust covering Fluke, making it look like it had snowed. The picture at right was actually taken after Gene had vacuumed the deck and then covered it in dust once again. We discovered some crunchy putty material in the hull to deck joint that was going to make bonding in that area problematic. More on that problem later. The first thing we decided to tackle was the gunwale and its inner face board on the starboard side of Fluke. Water intrusion had rotted parts of the face board and the round access hole where Gene is cutting was awkwardly cobbled together. He is using the Dremel Multi Max to cut away fiberglass skin and damaged core so we can see what needs to be done.
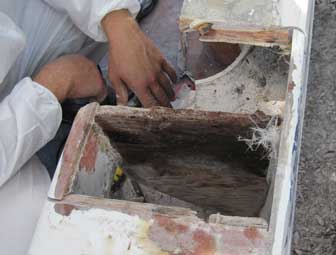
We started cutting into a more serious problem toward the aft end of the starboard side of the gunwale deck on Fluke. We found that the deck had been cracked for some time, long enough to rot a section of core beneath, and that the fiberglass skin on the underside was also cracked. The area had been previously repaired, but the effects of that repair were mostly cosmetic. We also found that while the outer layer of wooden core of the gusset appeared fine when exposed by grinding, further cutting revealed that water had penetrated the interior of that piece, partially rotting it. Essentially, the only thing holding the side of the boat together in this area was the strength of the fiberglass hull and skins, some of which were cracked. It was time to cut out some old core material and fiberglass in a new core and gusset.

September 23, 2011
Rebuilding Starboard Side of Fluke
On the 23rd, Gene's friend Micah showed up to help out. He was eager to start cutting out the old and building the new. Meanwhile, Gene put together a couple of sawhorses and put a scrap of plywood over them to make us a jobsite work bench. It served us well in the coming months.
Micah got right to work cutting out the bad section of deck core we were looking at the previous day. The circular saw is set at an angle to allow for a better bond with the replacement piece we will be making. Cutting out bad pieces of boats turns out to be a hard habit to break once you start.

Meanwhile, back at the stern corner, Gene was using the Roto-Zip to cut out an old repair and some bad core.
We decided that the best way to deal with the rotted areas in the starboard side face board on Fluke would be to cut it off and make a new one. Here Micah is following a line that will cut off the offending board but will leave the deck core encapsulated.

While Micah and I worked on making replacement core pieces for Fluke, Gene took his grinders over to Pec. The port stern corner had a previous repair with problems, so he ground it off.
After grinding off the old repair on the corner, Gene turned to the seemingly endless project of grinding down the deck on Pec. It is surprising how big the deck of a relatively small boat seems when you start to grind off the surface.

With the face board removed, the old SCUBA tank racks were revealed, and one was found to be in our way. These racks along the original side bench seats were formed by laying fiberglass around a large piece of PVC pipe. That's a nice way to make a mold, but nothing bonds to PVC. We were able to knock the mold piece out easily, since it never actually bonded to anything.
With half of the SCUBA tank rack removed, Micah used the Dremel Multi Max to neatly slice out the remaining piece. This gave us more room to work in this area and also enabled us to use a wider board to make the coming repair, since the board would not have to pass behind the tank rack any more.

The lower deck skin in this area was not very substantial. After cutting out the core and trimming the edges, we were able to just rip it free from the gusset below. In the picture at right, Micah is trimming the pieces left behind by that operation.
Once it was all cleaned up, it became apparent to us that this gusset was in worse shape than we had originally thought, and there was no way we were going to get new material to bond to what was left. The areas that had remained covered by the tabbing were still a bit wet and significantly more deteriorated than the wood we had previously revealed. In this picture, I think Micah was staring at the problem and wishing he was not seeing what was there. I know I was.

And off it came. As I mentioned, this habit of cutting off bad pieces of boats can get out of hand very quickly. Removing this piece was not part of our plan for the day, but now we had to make a new one.
Our plan to rebuild this side of Fluke was to glue a long scab board underneath the old deck, glass it in place, then replace the core we removed on top. While it does add some weight to the side of the boat that is already heavy, the reinforcing scab board underneath should prevent future cracks of the kind that caused this problem in the first place. In the picture at left, we are test-fitting the piece. It was cut from a full sheet of 3/4 inch marine plywood, so it extends 8 feet up the side of the boat, well past the repair area.

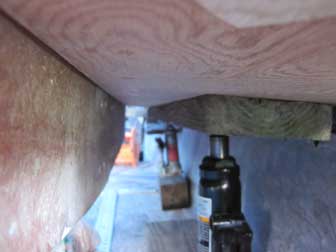
When the piece was cut to the right size, we tested our plan of using a couple of bottle jacks and a two by four to jack it up into position.
Our plan to rebuild this side of Fluke was to glue a long scab board underneath the old deck, glass it in place, then replace the core we removed on top. While it does add some weight to the side of the boat that is already heavy, the reinforcing scab board underneath should prevent future cracks of the kind that caused this problem in the first place. In the picture at left, we are test-fitting the piece. It was cut from a full sheet of 3/4 inch marine plywood, so it extends 8 feet up the side of the boat, well past the repair area.

We made a new face board and cut the access holes in it that will be needed when it comes time to replace the rub rail. It came out very nice, except for being made out of 3/4 inch plywood. It was supposed to be half inch. Oops. It is a little heavier and stronger than it really needs to be.
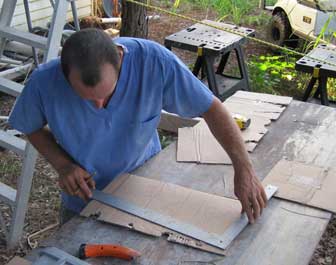
The old gusset was a bit too tall to fit under the new scab board, so we created a cardboard template to get the right shape before cutting out the new piece of marine plywood.

The cardboard template was made slightly oversize and trimmed to fit exactly. Here Micah is checking the fit one last time before we cut it out of plywood.
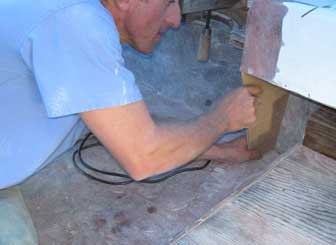
Our last act of the day before cleaning up was to cut out the replacement gusset in plywood and dry fit it in place below the new scab board. Because this piece will carry one leg of the hard top and we had a scrap the right size, we later cut another identical piece and laminated the two together to make a 1.5 inch thick gusset.

September 24, 2011
More Rebuilding and First Fiberglass Laid on Fluke
Micah started the day by prepping the starboard corner area and dry fitting the filler piece that would go below the repair. Gene is picking at the transom core where some water got in around an engine mounting bolt and rotted it out.
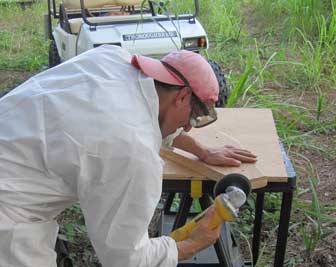
Some precision work with the coarse grinder disc, if such a thing is possible. Micah is rounding off the inside corner to fit snugly against the curve where the deck meets the side of the boat.

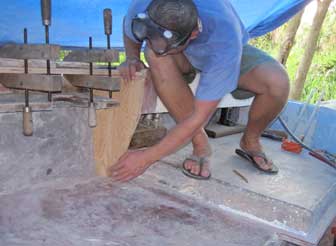
At right, Gene and Micah are doing the final dry fit on the face board pieces. Because the area we cut out is longer than 8 feet, each end got a small filler piece added to make the full length. Micah is doing a final bit of grinding to make everything fit while Gene cleans up the area with the Shop Vac.
Prior to installation, our new gusset, scab board, face board, and associated little pieces all got a good soaking in fiberglass resin.

Before we did what promised to be a pretty messy repair above it, we decided to go ahead and reskin the driver's deck on Fluke. We brought a couple of tables over so that we could lay the old skin on top and trace the needed shape.
New pieces of fiberglass for the driver's deck on Fluke sit ready on the work bench, along with all of the replacement wood pieces.

Gene and Micah applying a thick coat of polyester resin to the driver's deck on Fluke to help waterproof the plywood and help the first layer of fiberglass mat to bond to it.
In the picture at left, the first layer of fiberglass mat has already been layed in place and soaked with resin. Micah is laying in the second layer, which was made a bit larger than the first to properly meet the beveled edge of the original skin.

Gene pouring polyester resin out as Micah spreads it into the mat. We were very bad at guessing the amount of resin that would be needed at this time, and what he has poured out is clearly not enough. We mixed another round to finish it off.
The new deck looks almost done, but a closer inspection showed that the whole lamination was filled with millions of bubbles. So this is why we have bubble rollers!

And so began Gene's love of bubble rollers. The camera could not capture the tiny bubbles, but our eyes could, and the bubble roller took them right out. It also serves to tangle up the fibers in the different layers of glass and embed fibers into the plywood below, making the whole skin into one composite piece.
That last batch of resin was a bit too much and we never did quite learn to make sure some use for excess is prepared, so it hardened in the mixing container. I thought it looked pretty neat and decided this bit of waste would be the beginning of a piece of industrial art. Every time we were about to waste something, I would stuck it on the amalgamated artwork.

Once the new skin on the driver's deck had cured, Micah started grinding the surface underneath in preparation for fiberglassing in the new scab board.
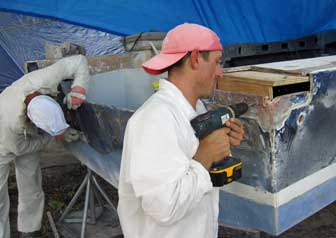
The plan is to wrap fiberglass from the side of the boat across the new scab board and down the inner gunwale face in an upside down U. In the picture at right, Micah is using a coarse flapper wheel on a drill to prepare the hull to deck joint area to receive a fillet of chopped glass. This will allow the new mat to lay smoothly over this area.

Leave a Reply
You must be logged in to post a comment.