December 5, 2011
First Gelcoat on Pec, Small Repairs and Fairing
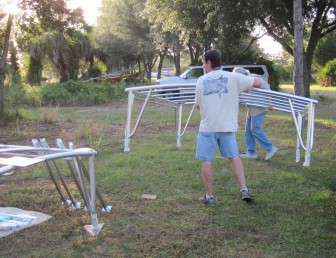
Richard the welder was an early riser and he delivered the second hard top frame just after sunrise, reminding us that we had yet to fabricate tops for these frames.
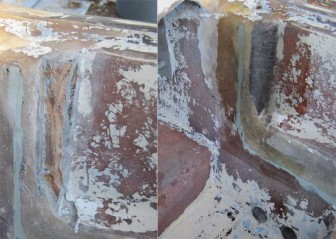
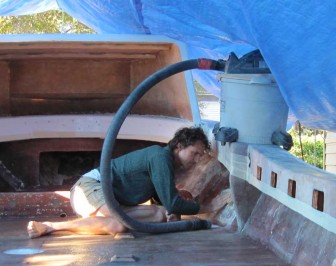
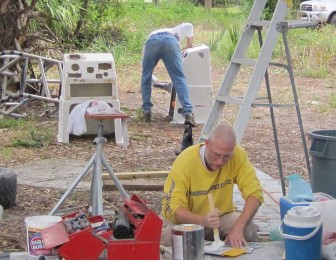
Dennis was coming to start spraying gelcoat, but we still had a few details to wrap up first, such as one last repair on the inboard side of the transom on Pec. There was just a small defect in the skin, but to fix it properly we had to grind the area down to plywood core and build it back up again using chopped fiberglass putty and mat. Picture at left.
That repair was done first because it was important that it have time to cure before being sprayed with gelcoat. The other minor fiberglass repairs done that morning were on Fluke, so we had more cure time available. That's probably just as well, since one of my photos shows Gene pointing a heat gun at a repair, a sure sign it was not kicking off.

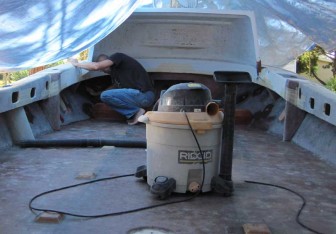
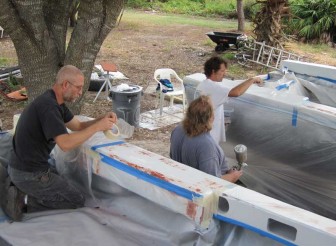
The final transom repair and the sanding that followed when it cured meant that Pec had to be vacuumed out one last time before Homer could wipe down the interior with acetone. We put masking tape around gussets and other areas where overspray was likely to occur and the masking tape was also used to define the line separating the painted upper sections of the gussets from the lower sections to be sprayed with gelcoat.
We were still finishing up parts of the masking process when Dennis started spraying gelcoat.

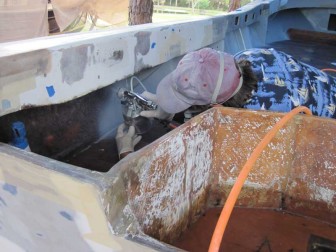
Starting at the bow, Dennis worked his way around both sides of the boat spraying gelcoat up under the gunwales. While he was at work on this side, Homer was finishing up the masking tape on the opposite side.
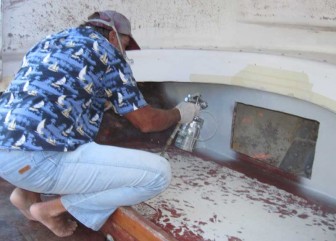
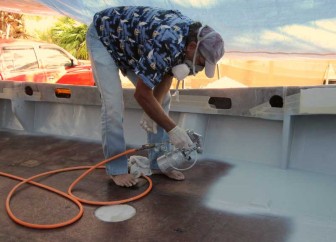
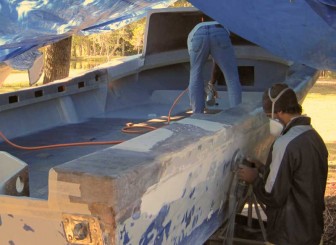
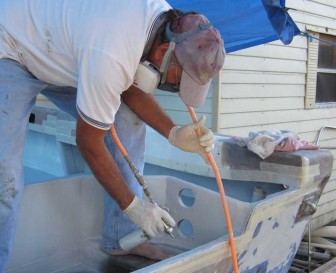
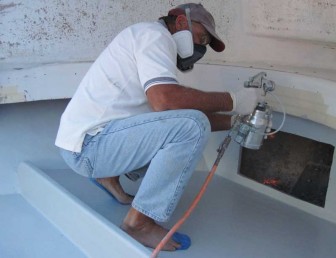
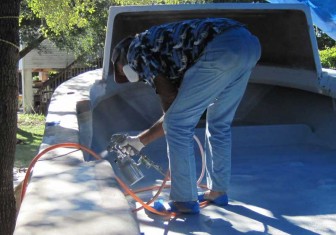
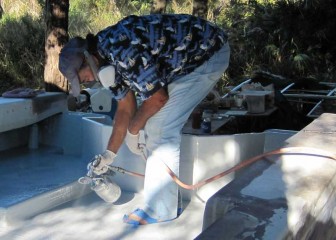
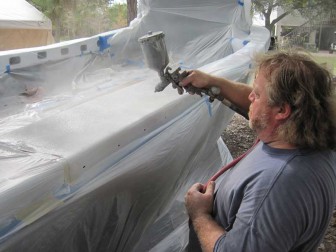
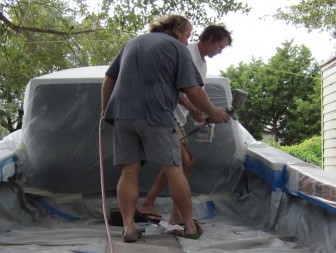
This shot of Dennis spraying gelcoat on the deck of Pec gives a pretty good view of his custom-built gelcoat sprayer. Because gelcoat is thick, an ordinary venturi type spray gun will not always suck it up and spray it smoothly. To compensate for this, Dennis added a separate air line off the high pressure hose and connected it to the lid of the paint bottle. When spraying gelcoat, a small valve allows him to control pressurization of the spray tank. It's a bit of a delicate balance and the pressurized tank can lead to unwanted drips between spray blasts, but overall it seemed to work pretty well.

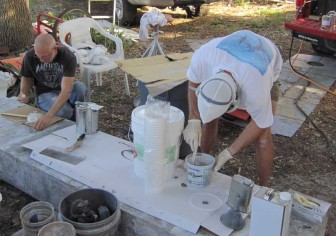
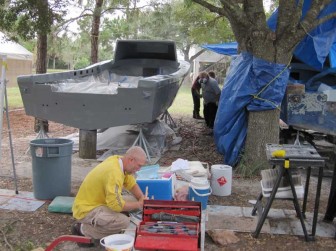
The old fuel tanks made a handy scaffold for hull work and this one served pretty well as a mixing table. At right Homer was mixing up more fairing compound as Gene mixed up a fresh batch of gelcoat for Dennis.
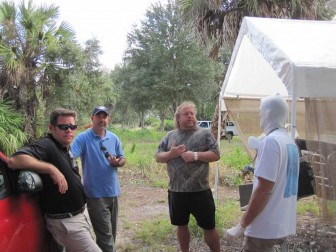
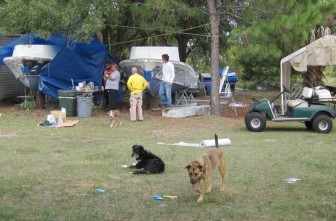
Dennis got through spraying the first coat on Pec fairly late in the day and Gene wound up the day with a conference about the coming paint jobs to be done by our neighbor, Jim. Only Scott had the presence of mind to salute the camera.

December 6, 2011
Gelcoat Spraying Fluke, Non-Skid on Pec, Blue Tape Shoes
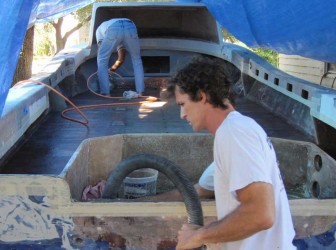
The day began with final sanding of the small fiberglass repairs completed the previous morning on Fluke. A picture from the day before shows Gene in the same position, but holding a heat gun. The sandpaper in his hand shows that the heat worked once again and the resin cured. The boat was already clean and partially solvent-wiped at this point, so he tried to keep dust to a minimum with the shop vac. A final solvent wipe and the interior would be ready for gelcoat.
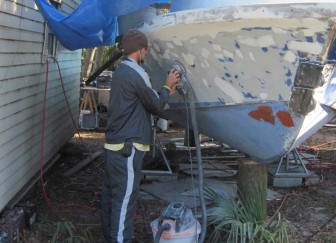
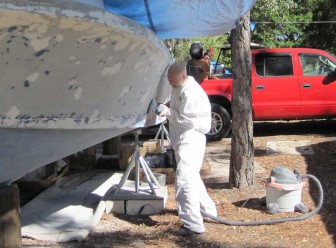
Clean is a relative term, especially working on boats outdoors. Our standards were pretty far from a clean room where computer chips are manufactured. As Gene was cleaning up inside the boat prior to gelcoating, Colton was using the dustless orbital sander to do finish work on the topsides. The shop vac attachment did significantly reduce the amount of dust generated.

As Dennis was starting to spray gelcoat up in the bow of Fluke, Gene was still cleaning up after sanding a few final repairs back in the motor well.
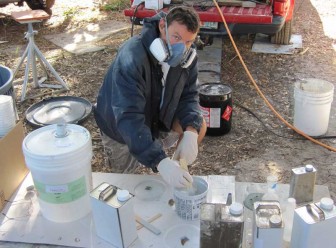
Thinning gelcoat for spraying and setting Dennis up with a fresh pot of catalyzed mix when needed was my job for the day.

Colton had to resort to an organic vapor cartridge on the respirator to continue sanding the topsides on Fluke while Dennis sprayed gelcoat inside. In addition to being bad for you, gelcoat smells terrible.
Dennis has a small touch up sprayer that he used for areas like the motor wells where the bulky pressurized sprayer was unworkable.

After finishing the first coat on Fluke, Dennis returned to Pec to apply the non-skid and finish coats of gelcoat.
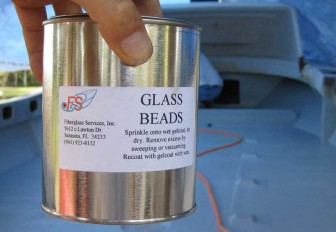
We created the nonskid surface on the decks using glass beads, but not the beading necklace kind. These nonskid beads just look like very fine sand. The directions on the can say to sprinkle them into wet gelcoat and then cover them using gelcoat with wax. The wax additive in the final coat protects gelcoat from the air while it cures, allowing a full cure.
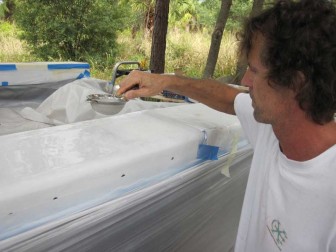
Sprinkling the glass beads evenly in the wet gelcoat was accomplished using my wife's kitchen strainer. I'm pretty sure we told her we borrowed it. If not, she'll find out now!

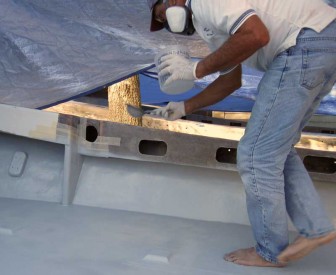
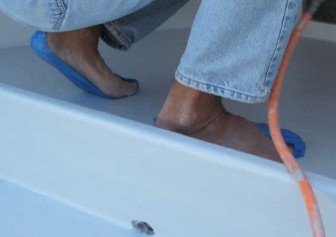
Because Dennis wanted to apply the finish coat of waxed gelcoat immediately after the coat containing the glass beads, he had to walk across the still-tacky gelcoat he had just sprayed on the deck of Pec.He was being very careful to keep his feet clean while working aboard the boat, but we were concerned that skin oils or sweat could contaminate the tacky gelcoat, leaving behind visible footprints in the final finish.
Our solution to the problem: blue tape shoes!
After cleaning his feet, we taped the soles with blue masking tape so that only the back side of the tape contacted the deck as he walked around. It worked very well!

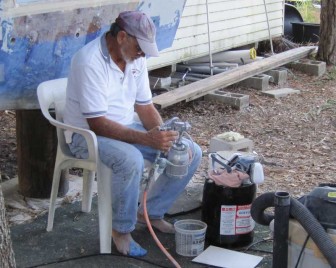
When he was done spraying for the day, Dennis went through an elaborate disassembly and solvent cleaning ritual with his gelcoat spray rig. Every trace of gelcoat was removed from all pieces, making the sprayer look new. He told me it is actually a very old sprayer, but I never would have guessed by looking at it.
Sunset down on Shell Creek that evening was beautiful but the red blotch below the sun eliminated this picture from my Facebook sunsets album.

December 7, 2011
Finishing Gelcoat Spraying, Sanding and Fairing Hulls
I had to go help a friend launch a boat in the morning and by the time I came back, Colton was mixing gelcoat for Dennis to spray in Fluke as Gene and Homer worked on sanding Pec.
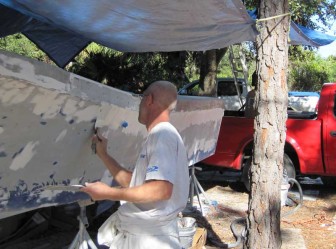
We were pushing hard to get the boats prepped so that Jim could spray primer the following day. At left, Homer was working the orbital sander hard, smoothing out fairing compound.

Later in the afternoon, as shadows started to grow long, Homer could not resist taking one more pass with the fairing compound. The dropping temperature and/or inadequate hardener in the mix resulted in some of the final fairing patches causing later problems in the paint.
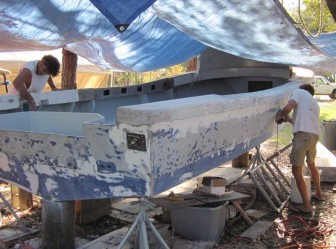
Gene and Colton were both at work sanding hulls and gunwales until late in the afternoon.
A great deal more work would have been required in order to come out with a perfect, mirror-smooth paint finish on both boats, but these were work boats with a job to do in just a few weeks. It was time to start spraying paint.

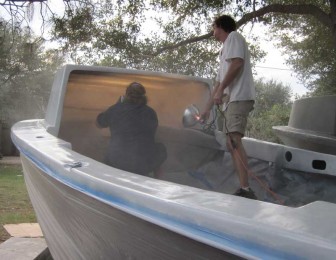
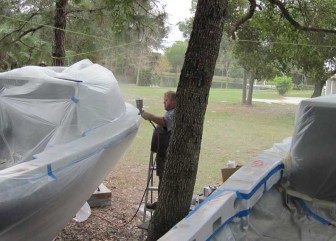
Dennis kept me pretty busy mixing so I got few opportunities to take pictures of him spraying gelcoat, but I did take this one attempting to show the shafts of sunlight lit up by a fog of gelcoat spray. It turns out that fog does not come out very well on camera. It really stood out in person, almost like the spray coming directly from the sprayer does in the picture.
The blue tape shoes evolved into blue tape sandals in an effort to get them to stay on longer.

A short video of Dennis in action with his pressurized gelcoat sprayer and touchup spray gun:

December 8, 2012
Spraying Primer on Pec and Consoles
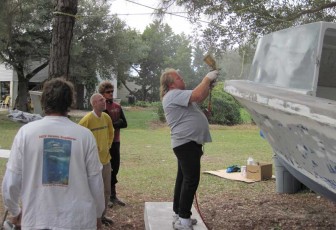
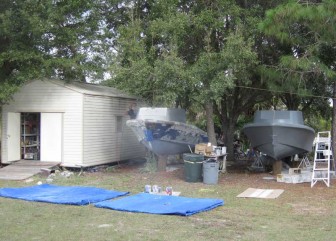
The whole team was at work early covering the insides of the boats with plastic and taping it off so that my neighbor, Jim, could spray primer on Pec. I had moved our sailboat from the adjacent tent so it would not be covered with overspray and was doing some final sanding on the consoles when this picture was taken.
Jim got started with the primer coat on Pec. The boats had been multi-colored and under blue tarps for so long, it was strange to see one exposed and turning a uniform color.

Colton was mixing up primer to keep Jim busy with the sprayer as Homer mixed up some fairing compound to use on Fluke. We used the tarp that had been over Pec to form a spray barrier between the two boats.
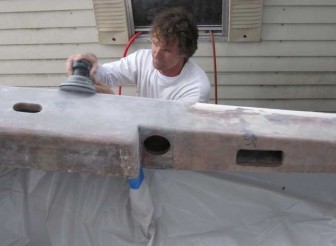
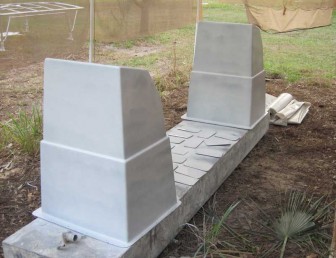
Gene took one last pass over the consoles with the orbital sander, then wiped them down so that Jim could move on from the boat and spray them with primer.

The primer coat revealed many flaws in the surface that were previously obscured by the different colors and layers of dust. Jim was not happy and pointed out that the same flaws would be even more visible in the finish coat. He and Colton went to work with some fairing putty to smooth some of the worst ones out.
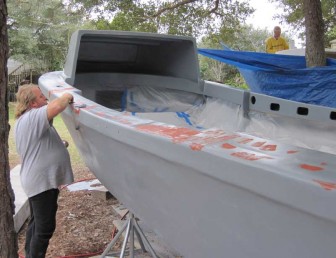
Knowing that the surface on Fluke would not look any better when it was primed the following day, Gene and Homer were at work with sanders and fairing compound to do what they could to smooth things out. I was up in the boat taping up the plastic to protect the new gelcoat from overspray.
The day ended with one boat primed and re-faired and both consoles primed, the other boat ready to be sprayed with a primer coat the next day.

December 9, 2011
Priming Fluke, First Coat of White on Both Boats
In the morning, we quickly sanded down the orange fairing putty on Pec so that it could be re-sprayed with primer, then Gene and Homer moved on to last-minute sanding on Fluke while Colton mixed and Jim sprayed primer. I used some fast-curing epoxy to fill a couple of holes in the dodger and along the gunwale on Fluke, then quickly cleaned and sanded the repairs before Jim came along with the spray gun.
This was a pretty big moment: the blue tarps were being folded up and put away. I was surprised they had lasted through thunderstorm season. Click the picture to enlarge and you can see Jim spraying between the shed and Fluke.

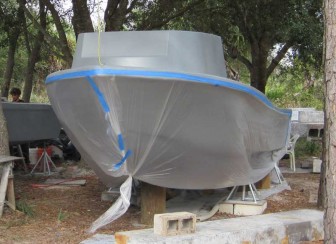
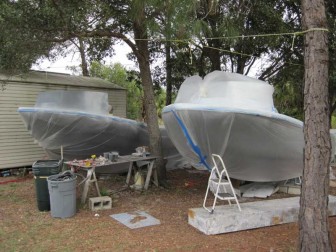
After priming Fluke, Jim moved on to finish priming the consoles and put a coat of primer on the access hole cover plates. While he was doing that, we tented Pec from the rub rail area down using lightweight plastic so that the first coat of white could be sprayed. Once again the old fuel tank came in handy as a work scaffold, this time with a concrete block as an extra booster in the taller bow area.
The other old fuel tank was being used as a platform for spraying the consoles and access hole cover plates. We took over the tent that ordinarily shelters our sailboat for the purpose. The day before, resting the consoles on boards on the ground resulted in the spray blast kicking up dirt onto them. That was not a problem to sand out of the primer coat, but with the first coat of white going on, dirt would have been a big problem.

The first coat of white paint being sprayed on Pec! Jim was engulfed in a pretty thick cloud of paint spray as he worked inside the hard dodger. Homer and I put a plastic skirt around Fluke and Jim sprayed white paint almost until sundown.
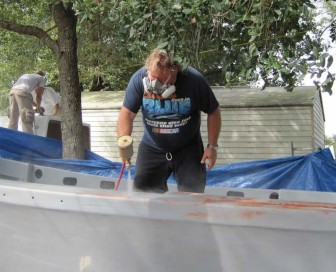
This picture should serve as fair warning to those using respirators to protect themselves from paint spray mist. Some of it gets in around the edges of the mask, and it can really add up if you are spraying a lot of paint in a confined space.

December 10, 2011
Orange Fairing Putty and Spraying White Paint on Glass Beads for Nonskid
The order of the day was to be spraying the rest of Fluke in white and then masking off the plain white areas and applying glass beads to create a nonskid surface where required. In this picture, Pec already has a plastic bonnet over the hard dodger to protect the finished paint from getting nonskid beads blown up onto it by the spray gun. The dodger on Fluke was not quite finished at this point, so it is still showing gray primer and the beginnings of a coat of white.
The order of the day got a bit longer when some of the piano-building perfectionists on the job site decided that the boats were not as smooth and shiny as they should be. My solution would have been to ignore this problem, but Jim was having none of that and Gene seemed inclined to agree with him that we could improve the appearance a bit before moving forward.
The new plan was to smooth over any problem areas with some orange fairing putty, sand, then re-paint those areas. At left, several spots along the side of Pec were being sanded back down after the putty application.

Over on Fluke, even larger areas got the orange fairing putty treatment and Gene and Homer were starting to smooth them back down with the orbital sander and Jim's pneumatic DA sander. It would be hard to have enough power sanders and people to operate them in a situation like this one.
After a little detour, we were back onto our main project for the day: applying nonskid to side decks and the forward deck areas around the hard dodgers. At left, Homer is taping off the boarding area on Fluke as Gene and Jim work on the opposite side of Pec.

Gene spreading glass beads over wet paint using a kitchen strainer.
Jim spraying paint over the glass beads to hold them in place and create the final non-skid surface.

Both boats got nonskid on the side decks aft, where divers and boat drivers have to climb on the sides of the boats, and on the side decks forward, where passengers board. The forward patches of nonskid continue all the way around the hard dodgers so that crew and guests can safely go forward to sit on the dodger bench or handle lines. In the picture at right, Jim is spraying the finish layer onto the forward nonskid on Pec.
Toward the end of the day, Gene and Jim were applying the nonskid to Fluke. The first order of the day wound up taking up the whole day, but at least it was done at the end.

Leave a Reply
You must be logged in to post a comment.