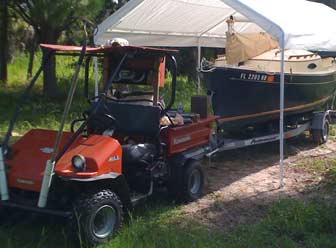
I had a Kawasaki Mule 550 with a trailer hitch for ten years, and found it very useful for moving small boats and utility trailers around, and even launching and retrieving lightweight craft such as jetskis or our Hobie Adventure Islands. The little Mule made maneuvering boats into and out of tight spaces easier than it would be with my pickup truck.
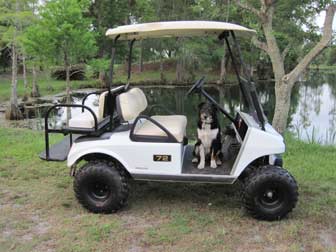
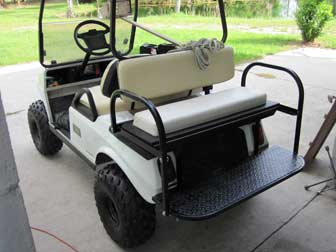
In 2010 I sold the Mule and bought an old 48 volt Club Car that had recently received a 4 inch lift kit and new tires. Luke the Cowdog really likes it. I wanted the quiet of electric power and the rear seat that flips down to make a small bed, but on this cart the rear seat had some rust problems and there was no trailer hitch. I set to work right away to correct those problems.

Removing the Rear Seat
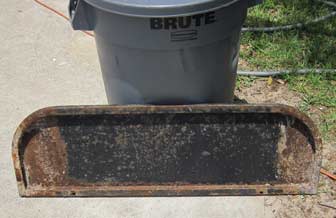
The first step was to remove the foot rest from the rear seat frame. I was surprised that none of the rusty bolts were frozen, and with a little oil I was able to free them all and pull the footrest off the frame. I suspect this cart was used in a marina or beach environment because of all the rust on the underside of the footrest behind each wheel.
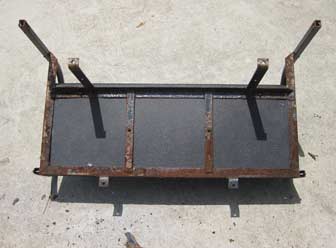
The rear seat frame also came off without too much of a fight. It has a lot of rust showing, but most of it is not as bad as it looks. There is still plenty of metal left, except in one spot where it rusted through. More on that below...

Seat Frame Disassembly and Cleaning
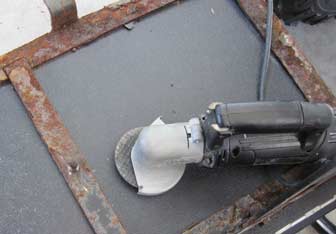
The hand rails and footrest supports came off the frame without too much trouble, but when it came time to remove the plastic seat base from the frame one rusted bolt proved impossible to remove and had to be cut using the Rotozip with a metal cutting wheel.
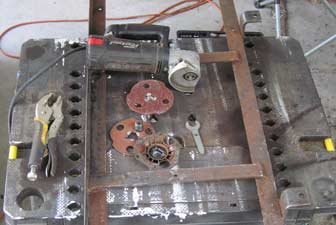
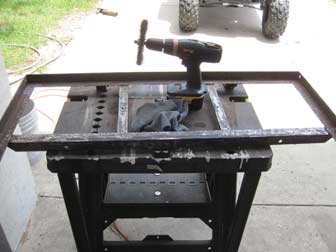
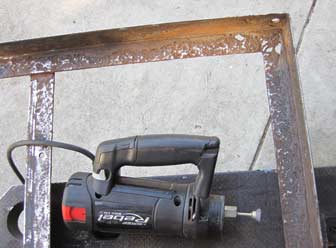
Removal of coarse rust flakes was done initially by just dropping each piece a short distance onto concrete to see what flaked off. After that, I went to the Rotozip with a very coarse sanding wheel. It worked pretty well, but my first wheel was already pretty worn out. I caught an edge with the replacement sanding disk and tore an edge off it. I thought the Rotozip was going to fly apart in my hands due to the unbalanced disk, and shut it down right away. Time for the inevitable trip to Home Depot...

More Rust Removal
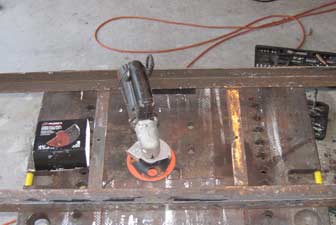
The local Home Depot had one old Rotozip machine on display, obviously gathering dust, and no parts. I guess I'm the only one who still likes these things. Anyway, after poking around a bit, I found some "Turbo Cut Discs" that looked pretty good and bought those. I was very satisfied with the results. Just a touch removed rust down to the metal, and I had to be careful not to grind away too much.
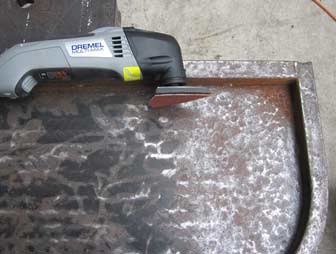
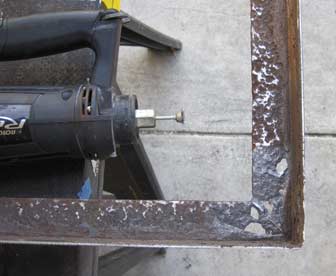
After all the rust was gone from easily accessible areas, I went on to the Dremel Multimax tool with triangular sanding attachment. It made short work of the corners.
With the major rust gone, I went over the whole thing with wire wheels, both drill mounted and on the bench grinder.

Cleaning Up Rusted Out Area
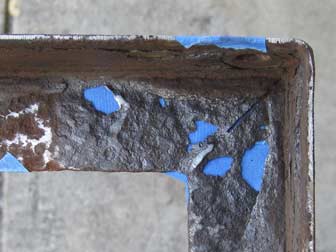
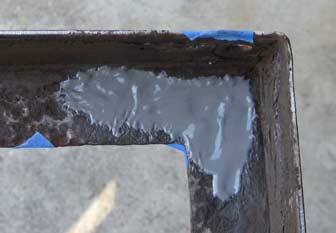
One corner of the seat frame had rusted out in a couple of places, so I decided to clean that area up and fill it with JB Weld. The small conical wire wheel on the Rotozip did a great job of getting down to clean metal, but wore out about the time the job was done.

Filling Rust Hole With JB Weld
After cleaning up the bare metal left by the wire wheel, I put some masking tape around the underside of the frame to cover the backs of the holes, then mixed up a little JB Weld and filled the area.

Preparation for Primer
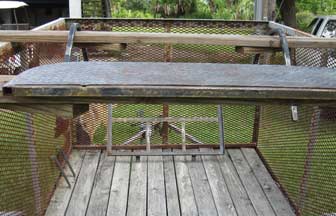
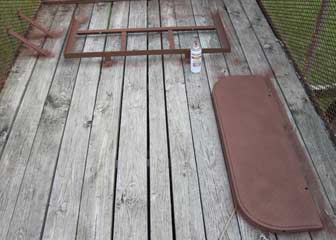
Once I had done all the good that could be done by wire wheels and sanding, I washed all the pieces with soap and water and set them in the sun to dry thoroughly, then in the shade to cool back down for painting. I decided to paint the pieces on my yard trailer so I could move the whole group to keep them in the shade. A little extra paint could not hurt the rusty old trailer!
The Rustoleum Rusty Metal Primer has a rust colored cap, which helped me to quickly find it in the store and distinguish it from the clean metal primer, but did they have to make the paint itself rust colored? It makes it harder to tell where you have primed the rusty metal.

Preparation for Primer
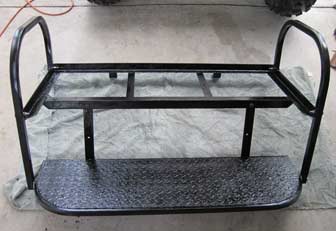
Once all the pieces were primed on both sides, I applied a few coats of Rustoleum black spray paint to each piece. I left them to dry for a day and then reassembled the frame.

Reinstalling the Seat and Adding Trailer Hitch
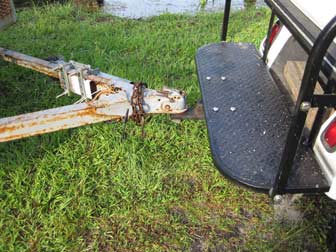
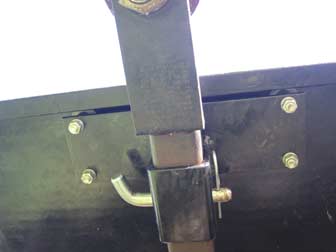
I put the seat back on the cart, but immediately removed the footrest to drill the four holes to mount the trailer hitch.

Testing New Golf Cart Trailer Hitch
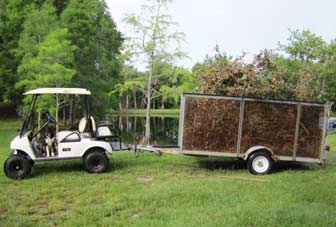
I had to add some thick washers to the spacers that came with the Golf Cart Trailer Hitch Kit to get the hitch receiver down low enough, but once I got it right I put the hitch right to work clearing some branches from the yard, under Cowdog supervision of course.


Leave a Reply
You must be logged in to post a comment.